7 Genius Paintbrush Hacks Every DIYer Should Know And Use
Ingenious advice paired with practical brilliance.
Before tossing out those stiff, forgotten paintbrushes cluttering your workspace, pause. What looks worn and useless can be revived with just a handful of clever tricks.
Yes, those seemingly spent brushes have more life in them. Skip the trip to the hardware store embrace the DIY spirit with these 5 resourceful hacks to bring them back to form.
1. Reuse for its intended purpose
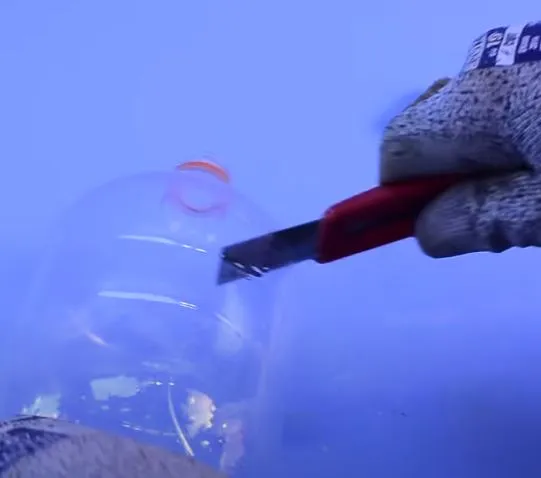
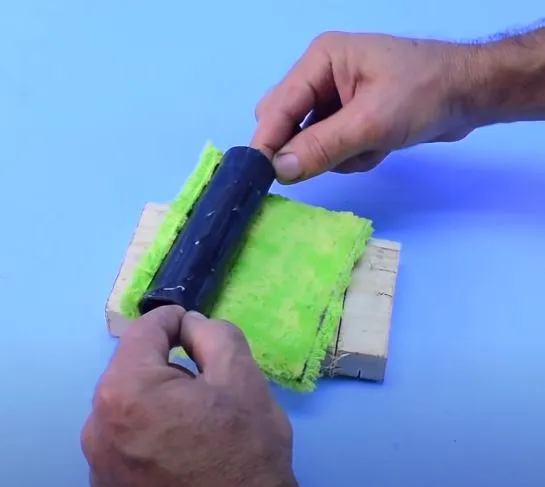
Slice a plastic bottle cleanly down the middle precision matters, so aim for a neat, even cut.
Take your time. Rushing could land you a nasty nick. Once opened, unfurl the plastic strip and size it up against your paintbrush, ensuring the bristles are fully sheathed just like in the demo.
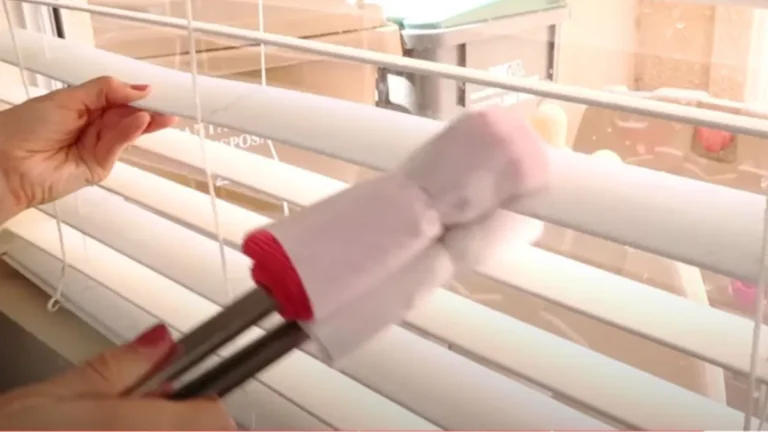
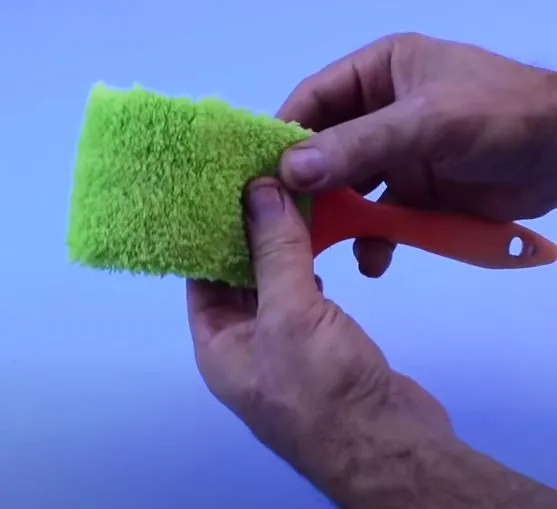
Grab an old mop sponge and carve out a section that matches the contour of your brush. Shape it carefully fit is everything.
Wrap the sponge tightly around the bristles until it hugs them snug. A couple of rubber bands will do the trick to secure everything neatly in place.
Now you’re ready to tackle surfaces with ease once more. Sure, grabbing a fresh brush sounds simple but with gas prices climbing sky-high, this clever fix is both savvy and cost-effective.
Oh, and that sponge end can be cleaned easily.
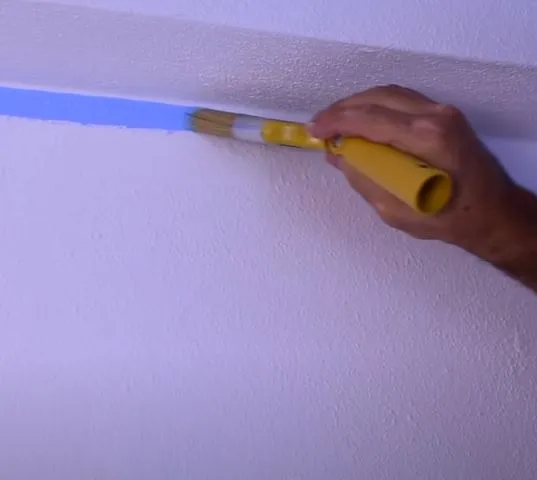
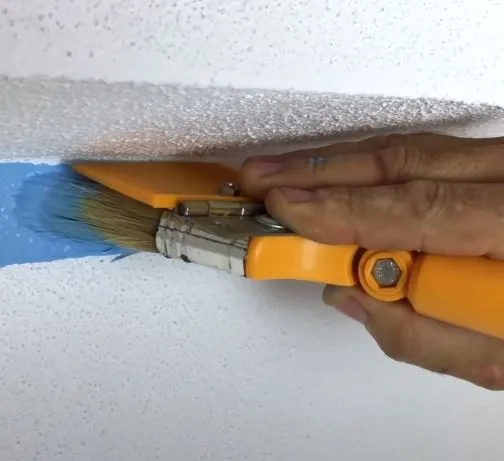
2. Angle of attack
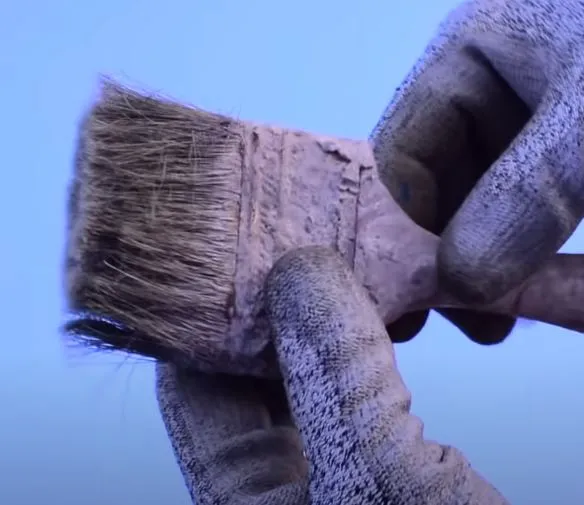
No paintbrush is flawless precision is rarely its strong suit. Expect a bit of smearing, maybe a few rogue streaks along the way.
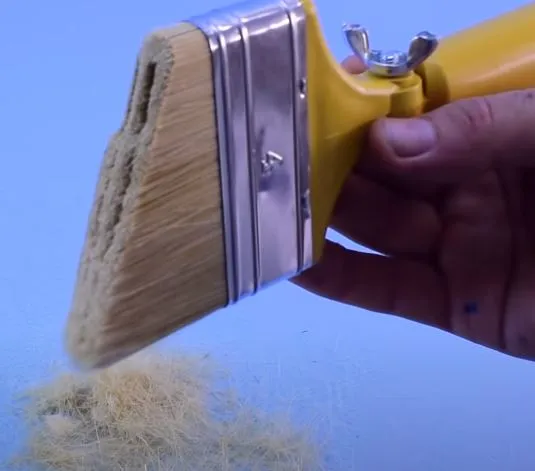
To fix that, grab the brush and give it a little grooming session. Snip away those stray bristles for a cleaner, more controlled finish.
Like so.
The angle makes it easier to hit those corner spots with paint.
3. Let it roll
Worn-out rollers deserve a second life just like their bristled counterparts. Start with an old mop sponge, if one’s within reach, and peel off the coarse, abrasive layer.
Next, cut a plastic pipe to match the roller’s dimensions. Apply a strong construction adhesive, then carefully wrap the sponge around the pipe, rolling both together to ensure a firm, lasting bond.
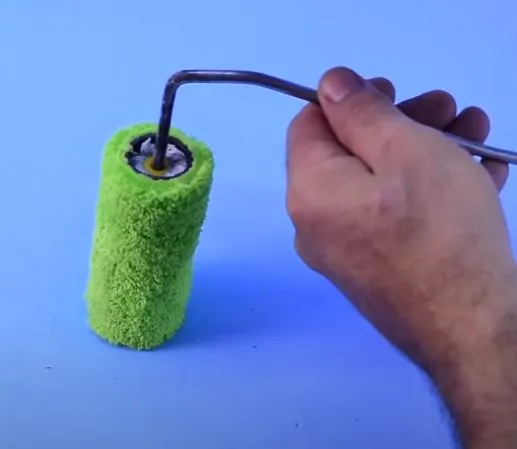
Reassemble the sponge on to the roller. It works the same!
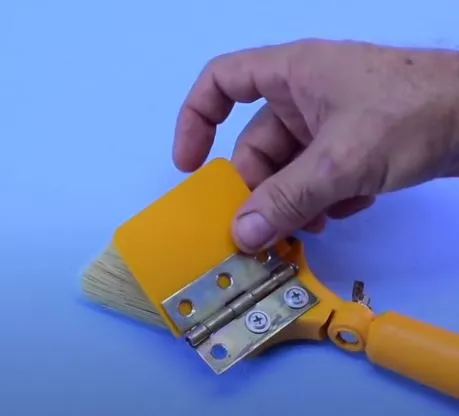
4. A hinge and a hole
For this clever hack, you’ll need a drill and a small hinge. Locate a piece of plastic slim yet sturdy capable of shielding corners while painting.
Drill a centered hole in the plastic, and another near the edge of your brush handle. Fasten the plastic to the brush using the hinge, creating a flexible guard that folds neatly up or down as needed.
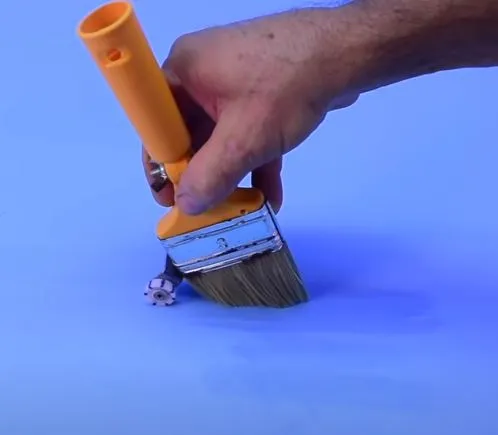
5. Keep on rolling
Hopefully, there’s an offset hinge tucked away in your toolbox and a small wheel that can double as a makeshift roller.
Drill a hole into the side of your brush handle, then attach the hinge and wheel at an angle that complements your hand’s natural motion. This setup lets the wheel glide smoothly across the surface, guiding your brush with precision and ease.
It certainly makes maneuvering into corners far less of a hassle.
Sure, some might say it’s simpler to grab a fresh brush off the shelf or even outsource the job entirely. But if you’re feeling restless and ready for a hands-on project, these clever tweaks offer just the right kind of satisfying challenge.
Hit play below to see these 5 hacks on re-purposing an old paint brush!
Please SHARE this with your friends and family.
Article Sources: The Maker