How to Grow Napa Cabbage All Season Long Easy Tips for a Never Ending Harvest
His unfiltered delight in gardening is as mesmerizing as the skillful precision in his hands. Every moment felt like a breath of fresh air.
For countless individuals, the vision of harvesting homegrown produce and nourishing loved ones with it remains, sadly, a distant aspiration.
Our lives are swallowed by deadlines, distractions, and endless obligations, leaving little space to sow seeds or nurture a backyard harvest.
Thankfully, there are other ways.
And for many, the challenge isn’t about finding time it’s about lacking the space.
Urban life often means apartment living, surrounded by concrete, with not a patch of earth in sight for planting a single seed.
Fortunately, there’s hope and a clever workaround. It turns out, cultivating fresh produce doesn’t require a sprawling garden or endless hours.
In one inspiring video, a resourceful man demonstrates how to grow thriving vegetables right inside your home no yard, no fuss, just smart, compact solutions.
Low maintenance gardening
In this particular video, the spotlight is on growing Napa cabbage a leafy gem that’s both mouthwateringly tasty and brimming with nutrients.
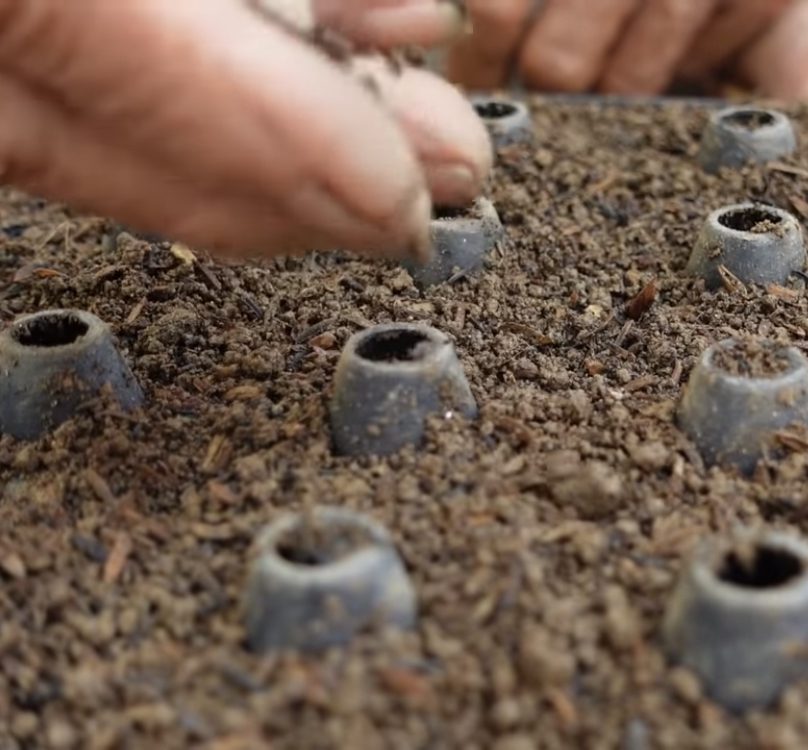
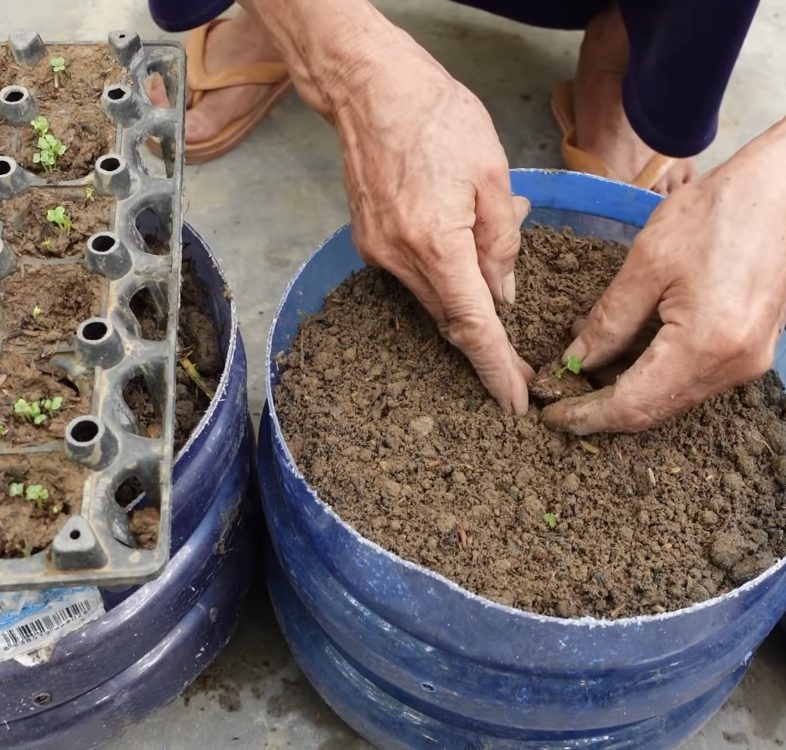
The process begins with the simplest of tools: a bit of soil and a humble seed tray.
And here’s the best part you won’t need to splurge on a high-end tray to kick things off. A basic setup will do just fine.
Old egg cartons work just fine!
Fill your tray (or egg carton) with enough soil to cover all of the holes.
Next, grab yourself a small packet of Napa cabbage seeds.
They’re incredibly budget-friendly and readily available at most garden centers or even online.
Tear open the packet and pinch a few seeds delicately between your fingertips.
Press a shallow divot into the soil, drop the seeds in gently, and once you’ve filled the tray, cover each little nest with a layer of earth.
Then give them some water.
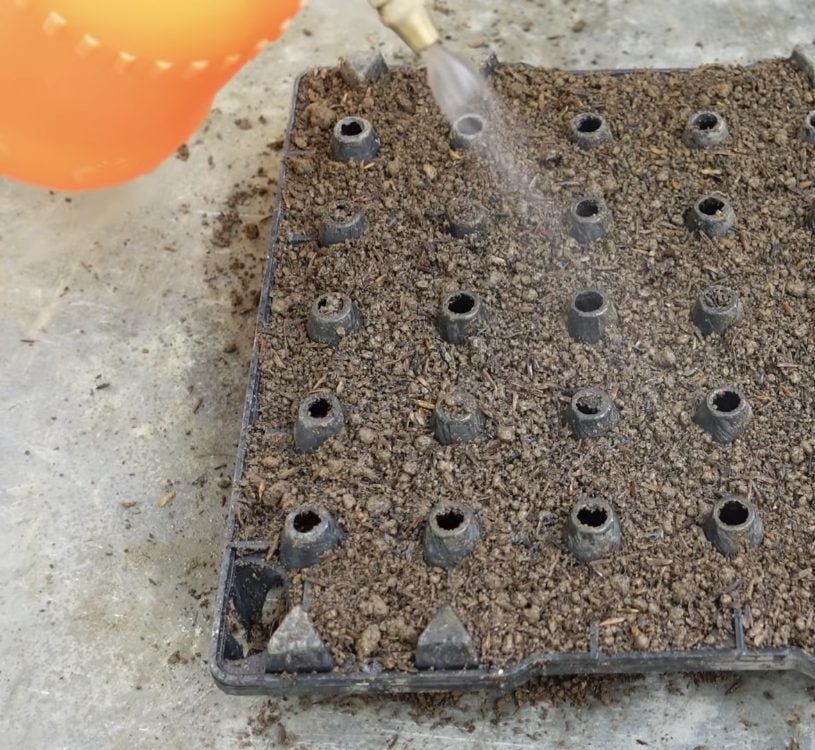
Within a matter of days, tiny cabbage sprouts will begin to push through the soil, bringing your tray to life.
Once they’ve gained a bit of strength and you’re ready to move them, you’ll find plenty of creative container options for transplanting.
A perfect time to recycle used jugs
But once again, you don’t need to spend a fortune here on fancy pots.
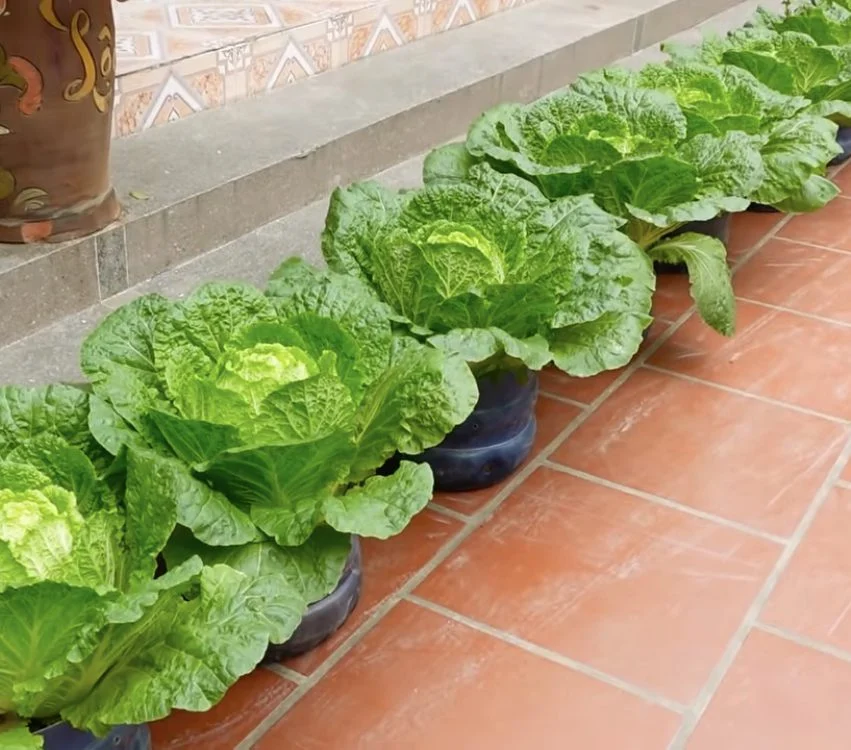
They grow in used 5-gallon jugs.
Simply slice it cleanly down the center, then drill a few drainage holes into the base and lower sides.
Once done, pack it with soil until it’s nearly brimming and just like that, it’s ready for planting.

Don’t forget to thin them out.
Select the sturdiest, most vibrant sprouts for transplanting into the jug.
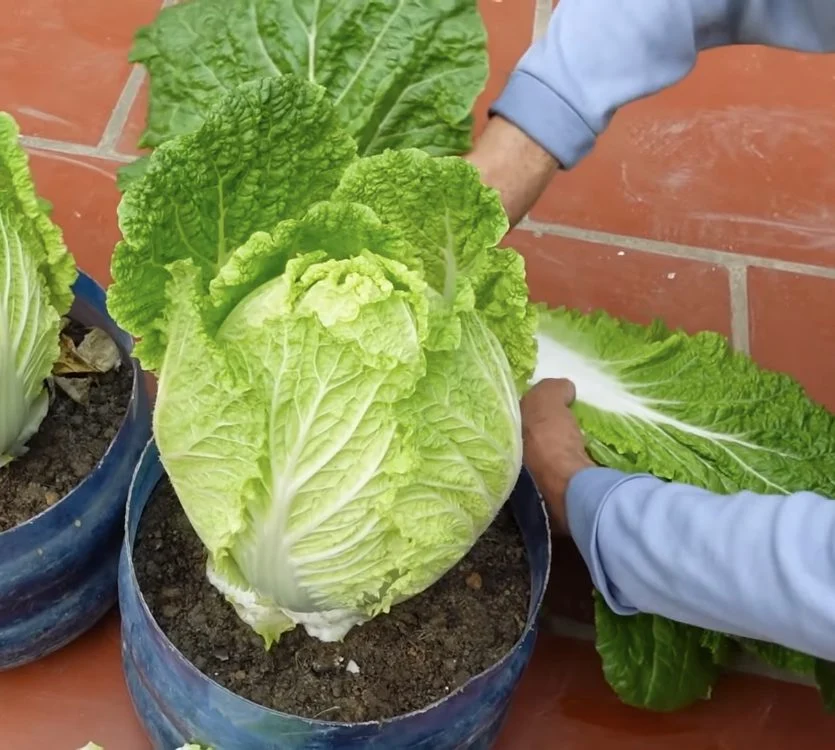
Though they may appear almost laughably tiny inside those roomy containers, give them time they’ll soon flourish and claim every inch of space.
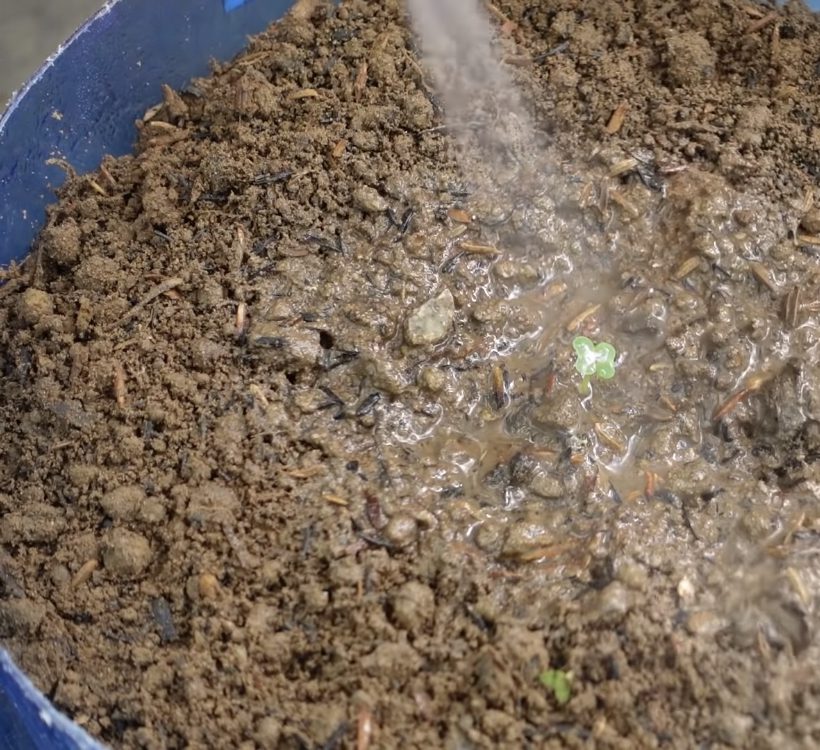
Be sure to water regularly.
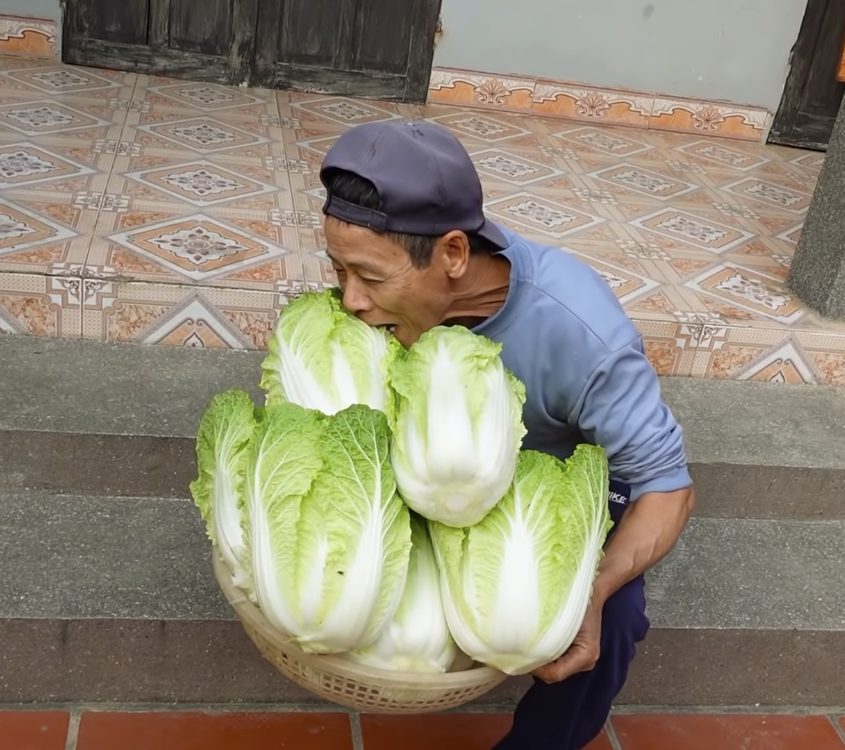
In the span of just a couple of months, your cabbage will have grown to a size that is ready to be enjoyed.
All it takes is trimming away the outer leaves yes, those are edible too and then slicing the cabbage head cleanly from its roots using a sharp knife.
It’s that simple.
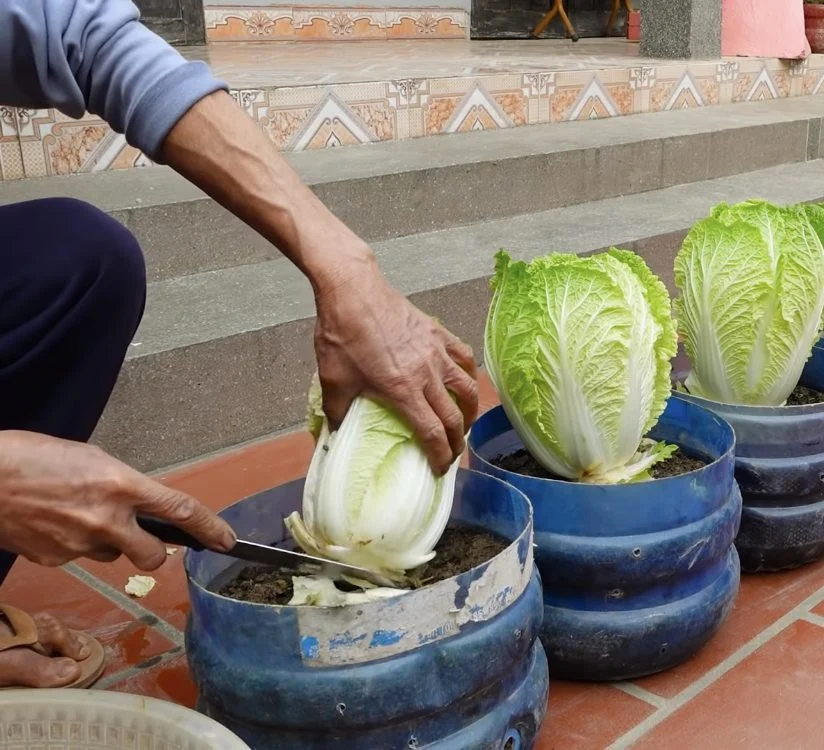
Now your cabbage is ready to eat!
See the video below for this entire process from start to delicious finish!
Please SHARE this with your friends and family.
Article Sources: TEO Garden