This Kiddie Pool Garden Hack Will Change Your Backyard Forever
Kiddie pools have been around since the 1920s — yup, almost a century of cheap summer fun.
But here’s the plot twist: they’re not just for splashing around anymore.
If you’ve got an old one hiding in the garage… or you can snag a new one from the nearest discount store… you’re sitting on a seriously underrated DIY treasure.
Because these little plastic pools? They make the cutest flower beds ever.
It’s an affordable, adorable hack that lets you skip pricey garden planters and still create a totally swoon-worthy bloom spot.
Perfect for anyone who loves flowers but also loves saving money.
Ready to turn a kiddie pool into a garden showstopper?
Here’s exactly how to make the magic happen.
Choose your kiddie pool
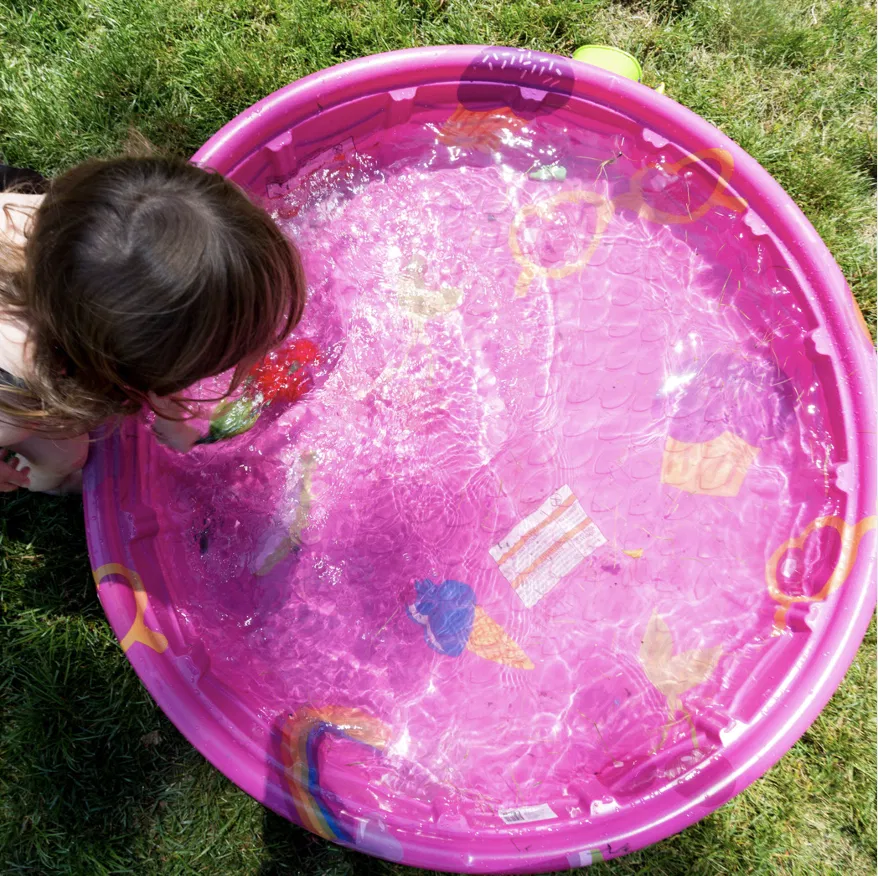
The best part about this hack?
It’s fun from the very first step — even picking out your kiddie pool.
Go wild. Choose a color or pattern that makes you smile every time you look at it.
Whether you’ve got a whole garden theme planned or you’re just grabbing whatever’s closest at the store, now’s the perfect time to snag one. They’re usually around $7 or less, so it’s a total budget win.
A few scratches are no big deal, but try to avoid anything that’s cracked or damaged.
You want cute… not leaky. 🌼✨
Stock up on garden soil
This step can be as simple or as detailed as you want it to be.
All you really need is some good outdoor potting soil — bonus points if you grab a mix made especially for flowers.
Just make sure you’ve got enough depth for your blooms to settle in comfortably.
You can totally eyeball it, or use a starting point of about three 50-pound bags (usually around $10 each).
Your flowers will thank you later.
Add some drainage holes
When you’re using a kiddie pool for splashing, you want it to hold every drop of water.
But when it becomes a flower bed? Not so much.
The quickest way to kill your blooms is by drowning their roots.
So here’s the fix: add drainage holes.
Grab a drill or a utility knife and make several small holes so extra water can escape instead of pooling at the bottom.
Just keep the holes evenly spaced and not too big or too tiny.
Think “steady drainage,” not “oops… everything leaked out.”
Figure out where you want your kiddie pool garden bed to go
Once you fill that kiddie pool with soil, trust me… you’re not going to want to drag it anywhere.
So pick your perfect spot first — somewhere cute, sunny, and ready to show off your new DIY garden moment.
Most flowers love plenty of bright, indirect sunlight, but every plant has its own personality.
So double-check your blooms before you plant them and make sure the spot fits their vibe.
Pick out your flowers
Honestly, this is the most exciting part for a lot of people!
Choosing your flowers feels like shopping for tiny pieces of happiness — endless colors, endless shapes, endless possibilities.
Just one pro tip before you go wild: check how big each plant will get.
You want everything to have enough room to grow without turning your pool bed into a jungle gym.
For example, marigolds? Perfect.
Sunflowers? Adorable but… absolutely not. Those giants will outgrow the pool in a week and probably tip the whole thing over.
Choose blooms that will thrive, not take over.
Fill up your kiddie pool flower bed
Now it’s time for the fun, messy, magical part — putting everything together.
As you pour in the soil, add a little water here and there until it feels kind of like cake batter. Not too dry, not too soggy — just perfectly soft and workable.
Once the soil is spread out evenly in your kiddie pool, it’s officially planting time.
Make sure you leave enough space between each flower so they have room to stretch, grow, and show off.
After everything is tucked in nicely, give your blooms a generous drink of water.
Your mini garden is officially alive.
Make sure your drainage holes are working
You should never see water pooling up inside when you water your flowers.
That’s your sign that the kiddie pool has officially become a flower bed, not a tiny lake.
If you notice extra water dripping out of those drainage holes — and the soil dries out nicely between waterings — you’ve done everything right.
Your blooms are in good hands.
Decorate!
There’s something so magical about the final little touches — the ones that take your DIY from “cute idea” to “full-on masterpiece.”
Totally optional, of course… but highly recommended.
Dress up your kiddie pool flower bed with whatever makes you smile: garden gnomes, tiny ceramic frogs, sparkly stones, fairy lights — anything that fits your vibe.
If you’ve got a theme in mind, this is your moment to go all-in.
Make it whimsical. Make it fun. Make it you.
You can add more than just flowers
Not everyone is a flower person — and that’s totally okay.
Your kiddie pool garden doesn’t have to be filled with blooms to be beautiful.
Herbs and succulents thrive just as happily in this setup.
An herb garden is especially amazing if you love cooking… fresh basil, mint, rosemary — all without those wild grocery store prices.
And the bonus?
Many herbs grow gorgeous little flowers of their own, so you get beauty and flavor in one adorable DIY garden.
If this DIY made you smile, you’ll love these genius little ideas everyone wishes they knew sooner.
Show off your kiddie pool garden bed
Whether you’re snapping a cute Instagram pic or sending a video to your plant-obsessed friends, there’s something extra special about showing off a DIY you absolutely nailed.
And the best part? Watching your little garden glow up over time.
Every new sprout feels like a tiny victory — and you earned it.
Don’t get discouraged if the plants struggle
It can be really discouraging when your plants start to look a little sad… but don’t panic and definitely don’t give up.
Sometimes they’re not dying — they’re just taking a break.
Remember, some flowers are annuals and some are perennials.
Annuals bloom for a season, while perennials come back year after year.
So if things look a little quiet, your plants might simply be dormant, not gone.
A little patience goes a long way in the garden.

