How This DIY Couple Built a Stunning Greenhouse with Cattle Panels On a Budget
This turned out absolutely stunning and cattle panels? Surprisingly accessible. The entire project came together in just two days.
“The greatest fine art of the future will be the making of a comfortable living from a small piece of land.” Abraham Lincoln
Joe and Tina Watson, the heart and hands behind Blessed & Beautiful Homestead, chronicle their off-grid adventures with raw honesty and warmth.
Tina, the visionary behind the homestead, invites others into a life of purposeful simplicity—where homeschooling, handcrafted builds, and sustainable living aren’t just routines, but a way of life worth sharing.
Back in March, the couple shared a video that skyrocketed past 2 million views.
In it, they unveiled their DIY cattle panel hoop house a clever, hands-on build that came together beautifully. Even more impressive? The entire structure cost a fraction of what you’d pay for store-bought greenhouse kits.
That’s one of the beauties of homesteading.
Homesteading opens the door to a world of hands-on mastery where every season invites a new skill, from nurturing the soil to crafting hoop houses and beyond.
In the description of their video, the couple shared their deep love for gardening a passion that sparked their quest to stretch the growing season a little longer.
To make it happen, they needed a solution that shielded their crops from unpredictable weather and relentless pests alike.
Enter the greenhouse.
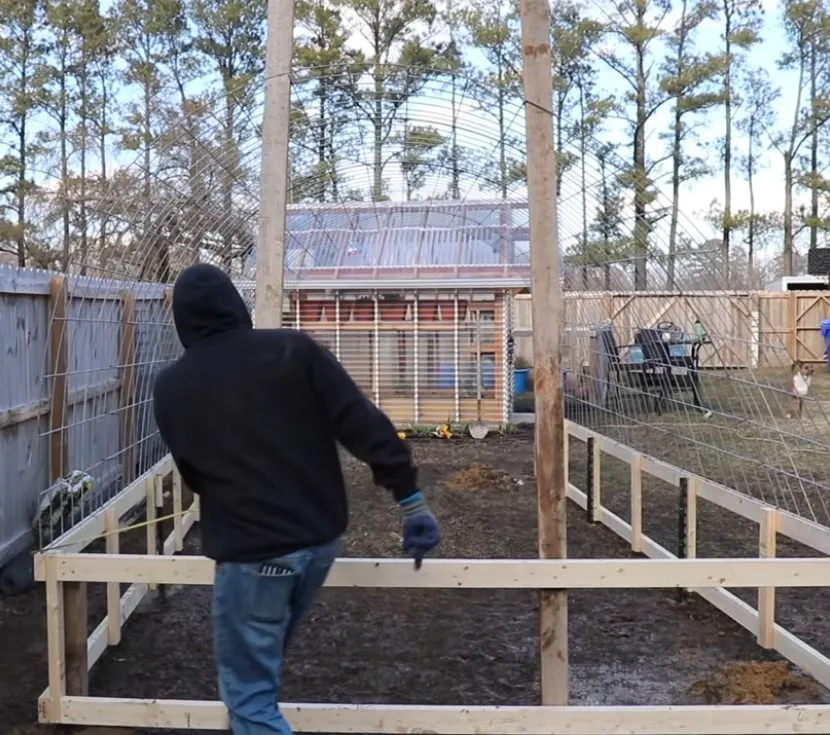
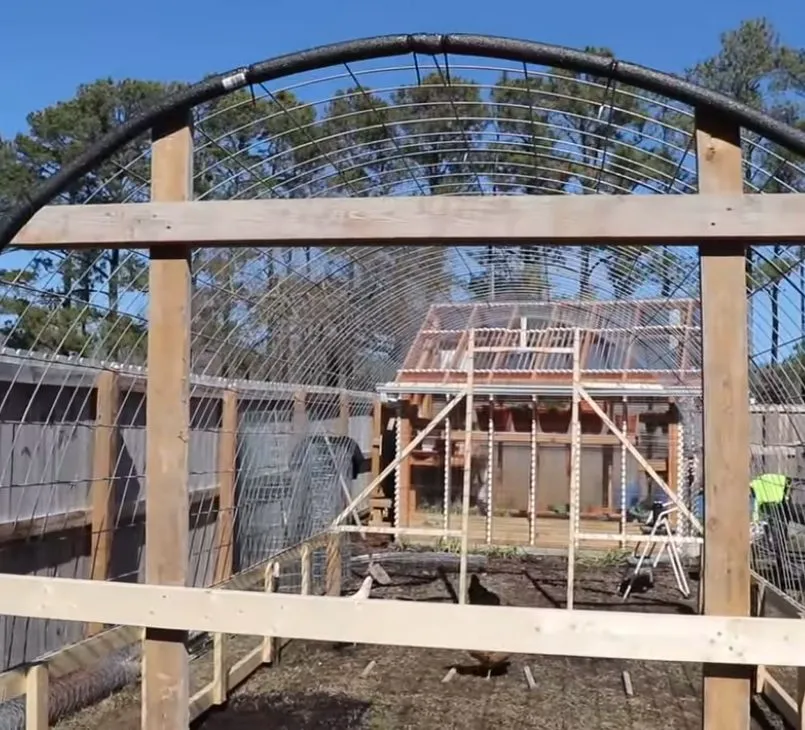
Tina and Joe rolled up their sleeves and built a 10×20-foot hoop house of their own and the result is nothing short of remarkable.
The finished structure is a visual treat simple, sturdy, and surprisingly elegant. As the couple shared, the entire build was both quicker and more affordable than they ever expected.
Feeling inspired to create your own? Here’s how to follow in their footsteps.
Here is what you will need:
- Greenhouse plastic
- 5 cattle panels 16ft long by 50in high, made with 4 gauge wire
- Roll of screens (for the windows)
- 2 packs zip ties
- 2 packs pipe insulation
- Straight nails
- U-shaped nails (1-1/4” length by 1/4” round crown)
- 4 Metal T-posts
- Screws
- 2 bags cement
- 2 4x4s cut in half
- 4 2x2x8s
- 12 2x4x10s
- 15 1x2x8s
- 17 2x4x8s
- Plumb bob
- Markers
- Hammer
- Cutter and scissors
- Staple gun
NOTE:
(They used the plastic on the video for 4 months. Then they decided to change it to a more durable, long-lasting greenhouse plastic.
The size of the new plastic was 40X25ft, 6 MIL thick, 4 Year UV Resistant Polyethylene)
Here’s how you can build your own cattle panel hoop house:
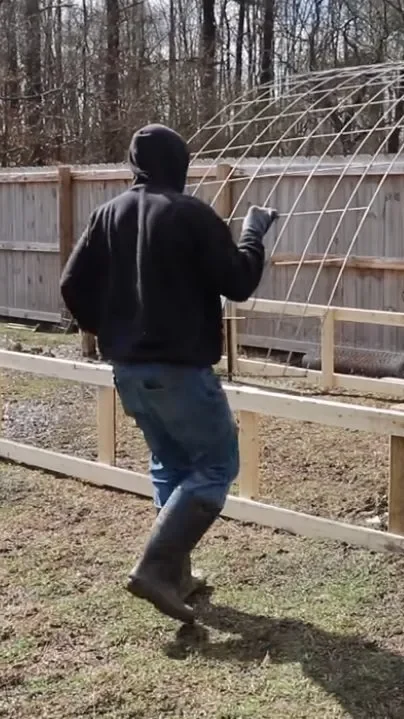
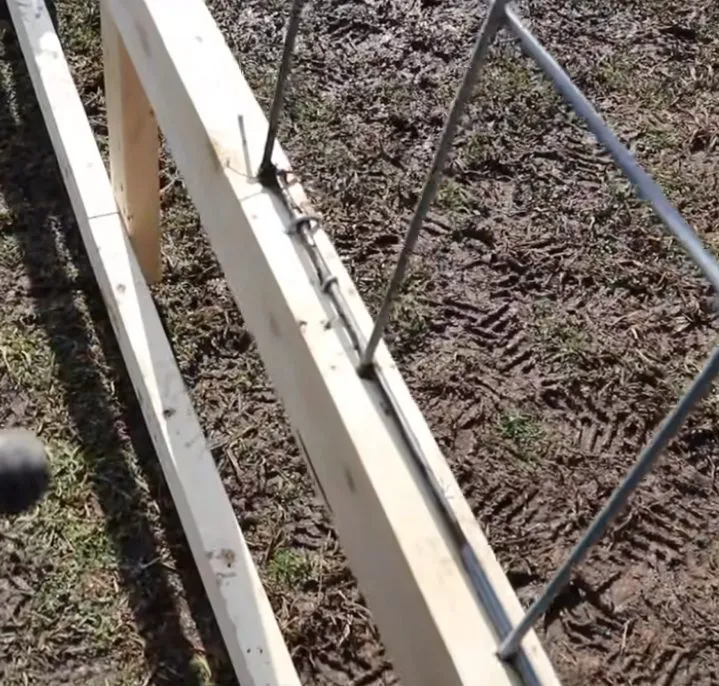
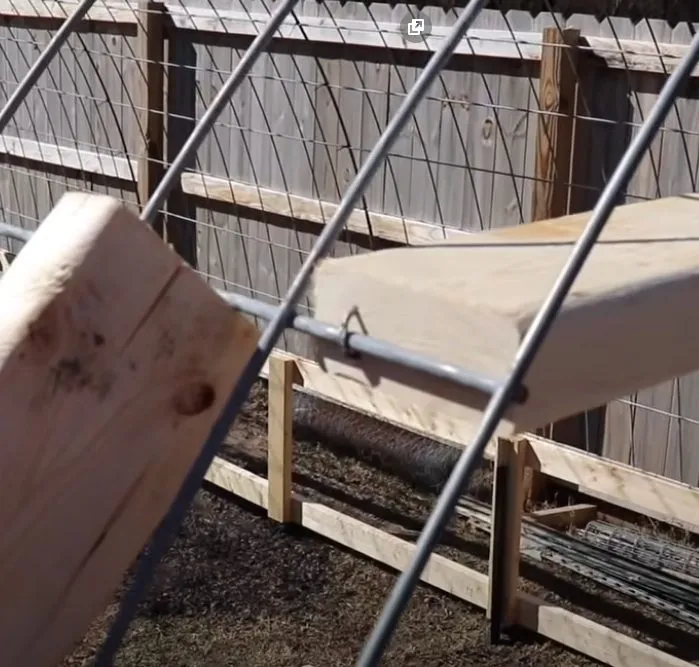
Using the U-shaped nails, secure your cattle panels on both sides of your wooden foundation.
2) Carefully arch your cattle panels and let someone hold them down so you can secure them to your wooden frame.
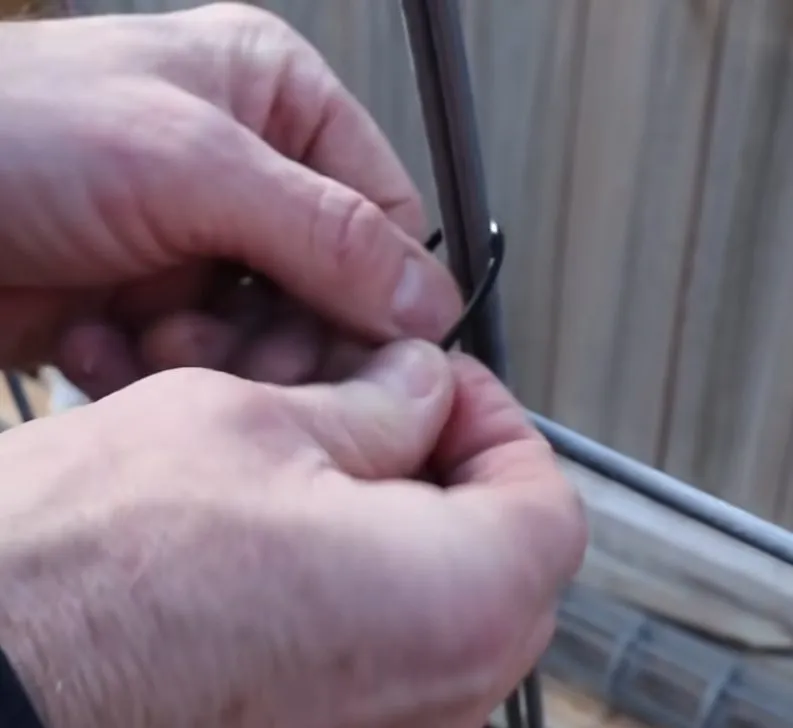
3) Use your zip ties to connect your cattle panels to each other.
4) With the use of your plumb bob to make sure that the foundation of your hoop house is centered.
5) As you continue building the frame, make sure to include the pipe insulation. This serves as the protection of the plastic from the metal edges.
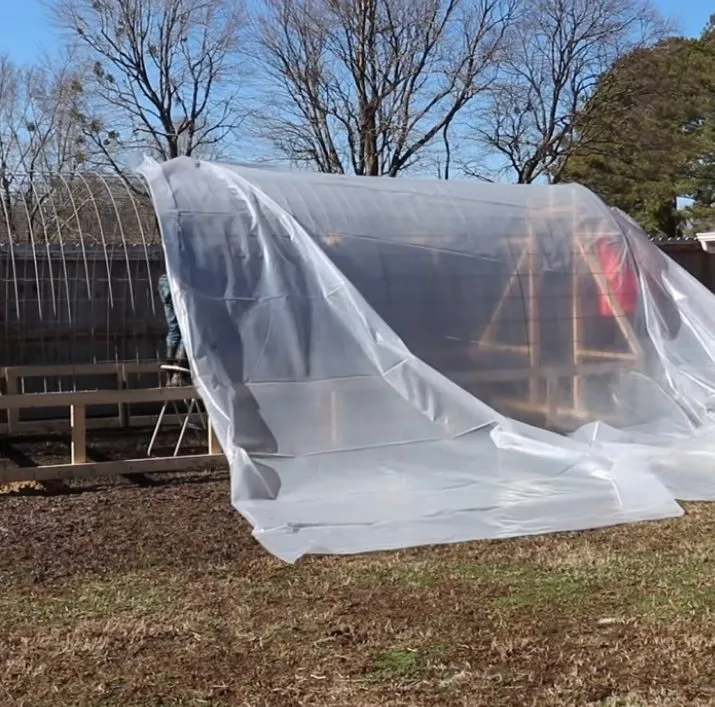
6) Measure your plastic and install.
7) Using the 1×2 planks of wood, you can secure the plastic to the foundation. This prevents it from tearing.
8) Once that is done, you can proceed to create your windows or door.
Tina and Joe tackled the project side by side, wrapping it up in just two days from start to finish.
You, too, can customize and elevate your own hoop house tailoring it to suit your space, style, and growing ambitions.
Watch the whole process below!
Please SHARE this with your friends and family.
Article Sources: Blessed & Beautiful Homestead blessedandbeautifulhomestead