He Transformed Cheap Plastic Chairs and Tiles into Stunning Garden Pots You Won’t Believe the Results!
I’m counting down the days to whip up a batch of these for spring’s fresh bloom. They turn out remarkably refined and cost mere pennies compared to what chain stores demand.
Every now and then, that itch for a home refresh sneaks up on us.
We start browsing, only to be stunned by the hefty price tags on simple plant pots.
Fortunately, there’s a treasure trove of clever DIY tricks that not only spare our wallets but also spark inventive ways to upcycle what we already have.
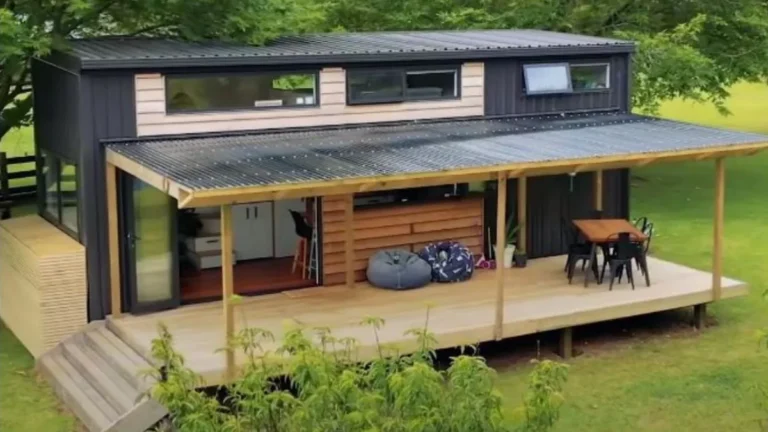
A project with a touch of elegance
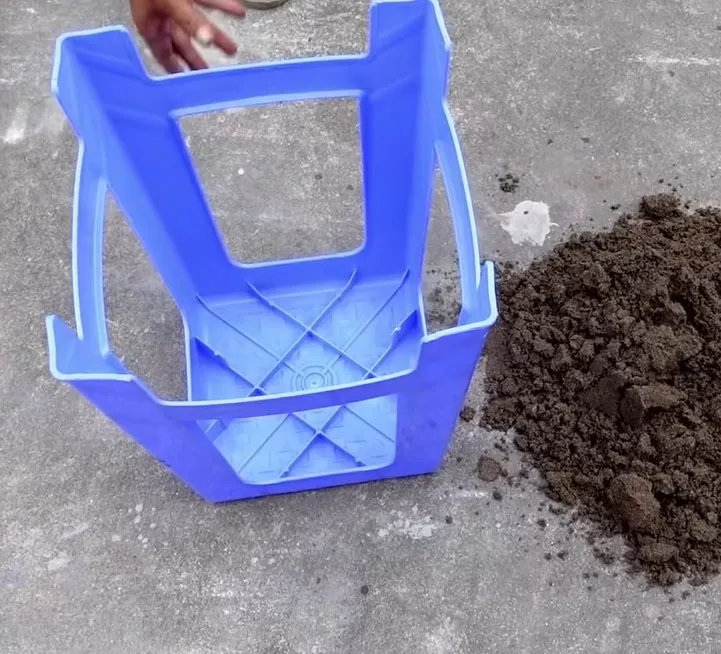
Ideas posted a video that went viral. It shows a DIY project on how you can create plant pots from ceramic tiles and plastic chairs.
Proof in the pudding
This effortlessly chic DIY struck gold captivating nearly 9 million viewers with its blend of simplicity and sophistication.
If you have tiles and old chairs, this project is definitely promising.
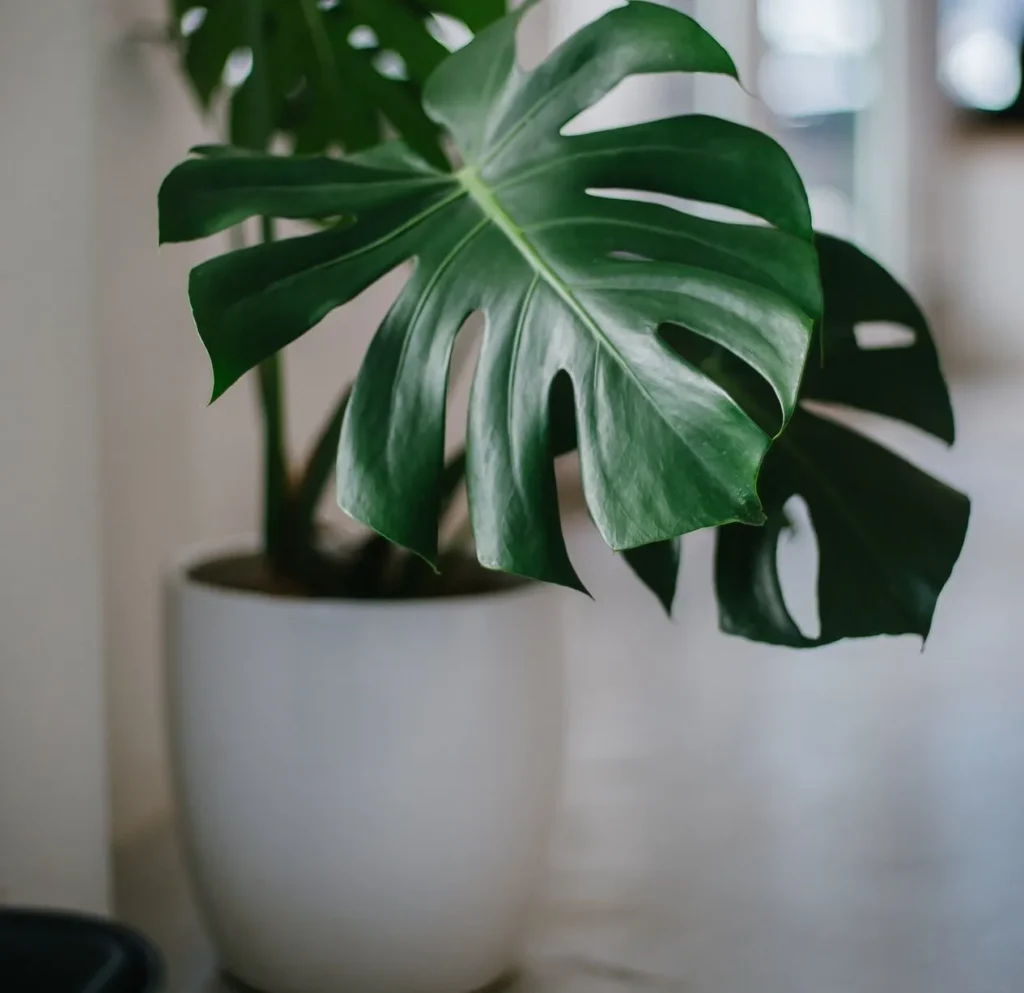
Bougie on a dime
Who says you need to shell out hundreds for oversized plant pots when you can repurpose old tiles and craft them right in your own backyard?
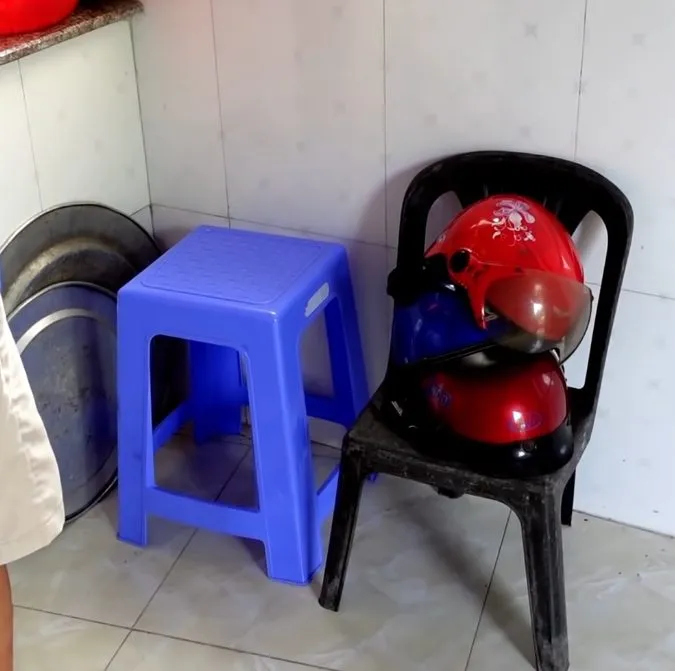
Here’s what you’ll need:
- Used chair
- Floor tiles
- Cement
- Tape measurer
- Pen
- Ceramic tile cutter
- Construction sand
- Paintbrush
- Paint
To start, here’s what you need to do:
Who says you need to drop a fortune on oversized plant pots when you can upcycle old tiles and craft stunning ones right at home?
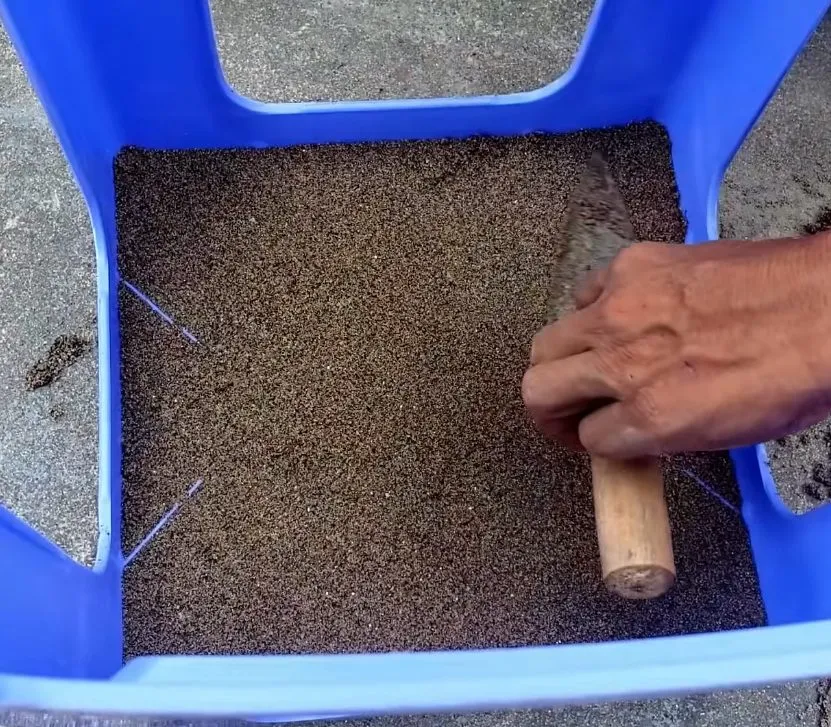
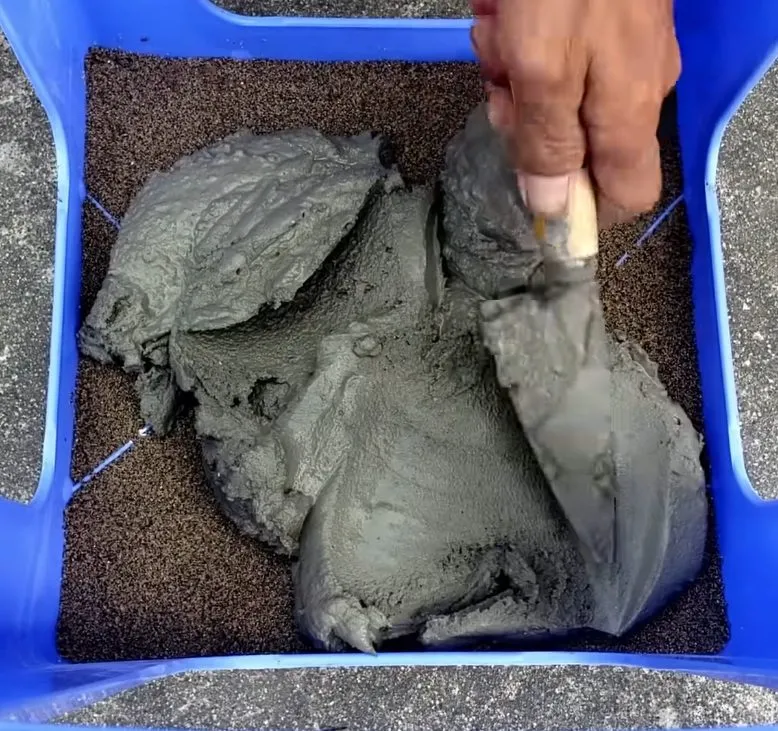
- Spread the cement mixture evenly over the base layer of plain sand. Smooth it out meticulously and allow it to settle undisturbed.
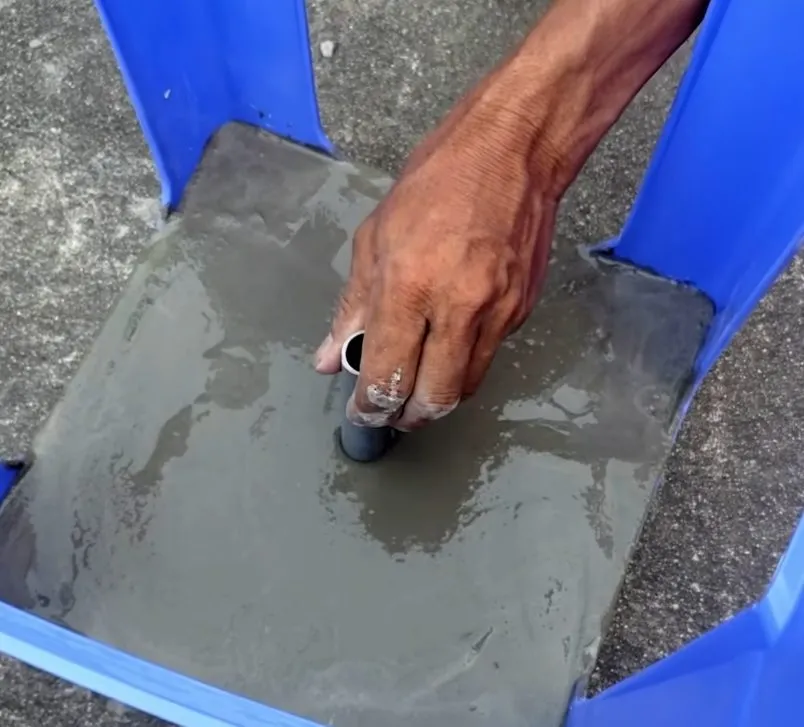
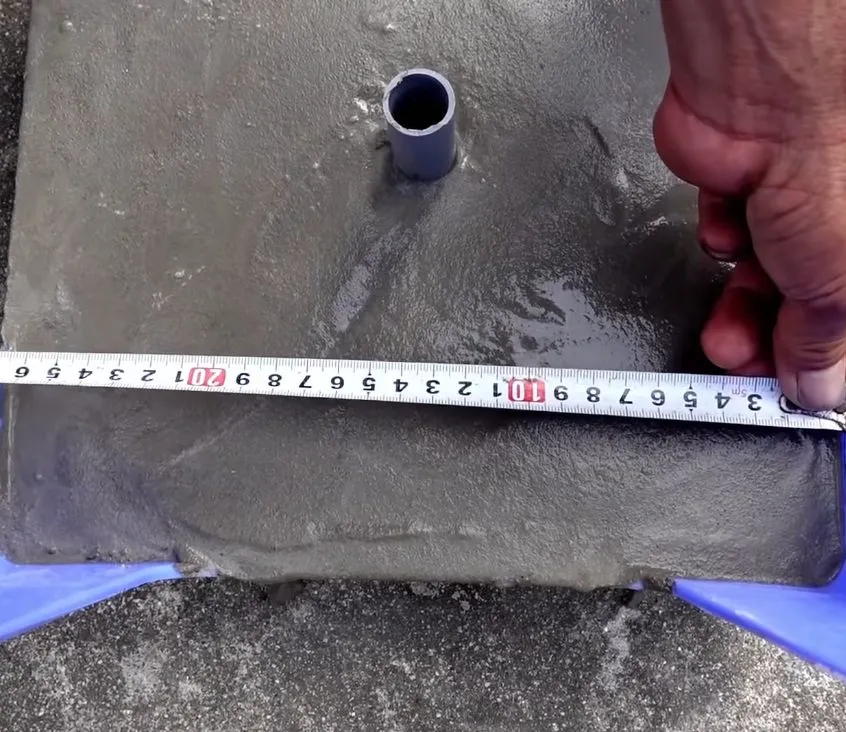
- As the cement sets, grab a small section of PVC pipe and position it precisely at the center.
- Now, take measurements along the sides of the chair. If you’re using the same model shown in the video, you’ll need to record two specific dimensions.
- Begin by measuring each floor tile with precision.
- Cut them with care, ensuring clean edges, and set them aside. Once all your tiles are trimmed and ready, it’s time to move on to the assembly stage.
- Arrange the cut tiles along the chair, using its frame as your guiding mold.
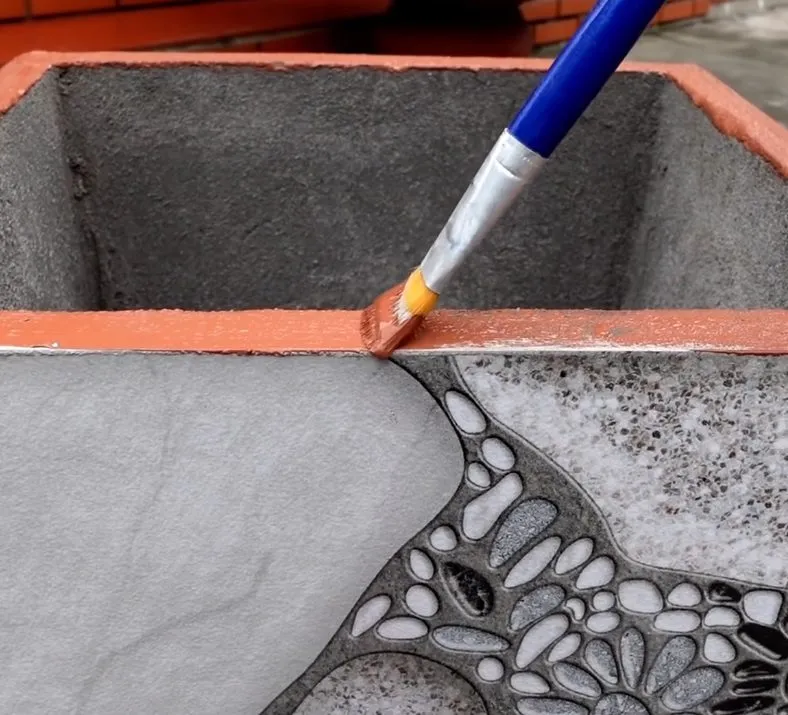
10. Using a paintbrush and water, brush the inside corners of the pot.
11. Add cement to secure the corners and let them dry for a bit. Then, do the same on all four sides of the pot.
12. Once all four corners are smooth, let the pot dry for around three days.
13. Once the cement has dried, you can remove the chair mold and scrape all the regular sand off the top.
14. Using a small plant container or any plastic container, create four stands for the pot. Cut the base of the plastic container and add cement. Set it aside to dry.
15. Then, using cement, secure the four stands of your pot. Let it dry.
16. Once done, you can clean all the excess cement and start painting it according to your preference.
See the full tutorial in the video below!
Please SHARE this with your friends and family.
Article Sources:No1 Ideas