Fix Wall Cracks Like a Pro The Easiest DIY Hack You’ll Wish You Knew Sooner
This turned out to be far simpler than I ever imagined.
Hiring professionals for home repairs can quickly drain your wallet. Fortunately, many fixes are surprisingly straightforward and tackling them yourself not only preserves your budget but also gives you back your time.
Check out this easy guide on fixing wall cracks!
Unless you reside in a pristine new build or an immaculately preserved home, you’ve likely come face-to-face with cracks along your walls or ceilings. In most cases, these fissures are innocuous simply signs of your home gently shifting as the years go by. Harmless as they may be, they’re hardly flattering. A single crack can disfigure an otherwise flawless surface, leaving behind a visual blemish that’s hard to ignore.
Using these steps, you can easily take care of the cracks caused by your house settling in only a few minutes!
If you’re aiming for a flawless, crack-free wall finish, the process is refreshingly simple. Just follow Ken’s lead and walk through the steps together. The best part? This DIY fix takes mere minutes and couldn’t be more straightforward.
1. Prepare the area
Cracks tend to form most frequently around door frames and thresholds. And since painting is part of the process, it’s wise to err on the side of caution. Simply reach for some painter’s tape and carefully mask off any exposed surfaces near the door that you’d prefer to keep paint-free.
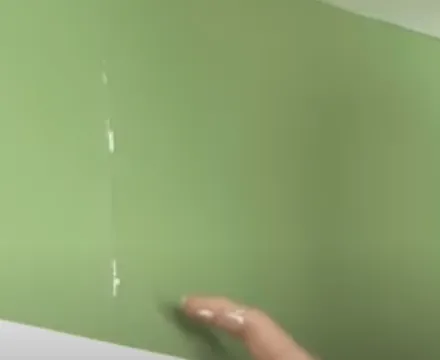
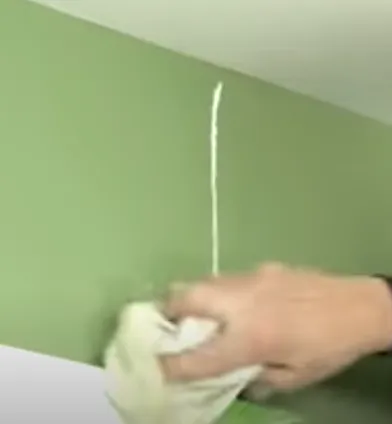
2. Open up the working surface

This step might just be the most oddly satisfying of all. To ensure proper access to the crack, we’ll need to expand it slightly. The simplest method? Take an old screwdriver and drag the tip along the drywall, carving and deepening the split. Once you’ve opened it up, wipe away the debris with a damp cloth for a clean slate.
3. Apply fiberglass tape
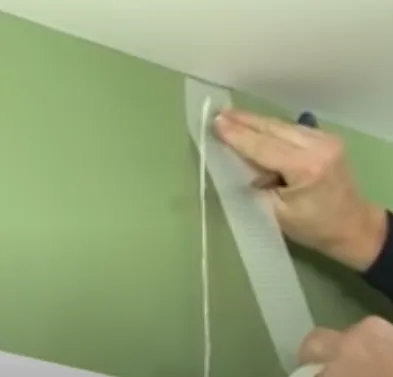
We’re aiming for a lasting fix not a temporary patch. Apply a strip of self-adhesive fiberglass mesh tape directly over the crack, ensuring it covers the entire area thoroughly. This added reinforcement helps lock everything in place, reducing the chance of the issue reemerging down the road.
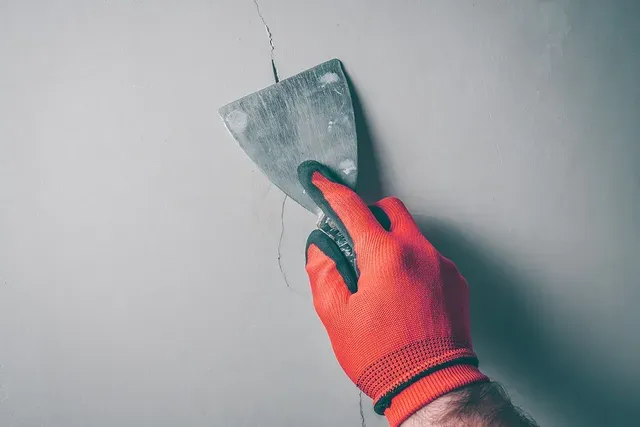
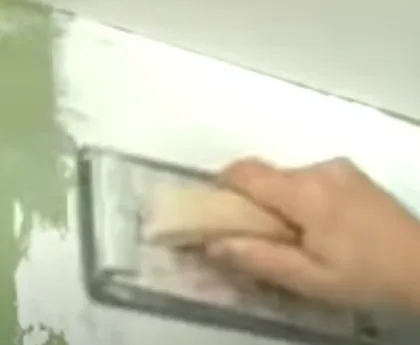
4. Apply drywall joint compound

It may sound technical, but this step is surprisingly simple. Begin by applying a layer of joint compound to the area, pressing it firmly into the crack using a putty knife and a bit of pressure. Once it’s had time to dry, run the knife gently over the surface to remove any raised spots. When the first layer is nice and smooth, repeat the process with a second coat. Allow that to dry, then finish with a third and final layer taking care to keep the surface flawless and free of any uneven texture.
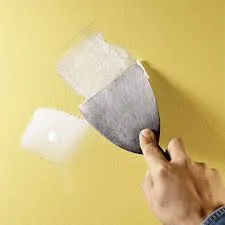
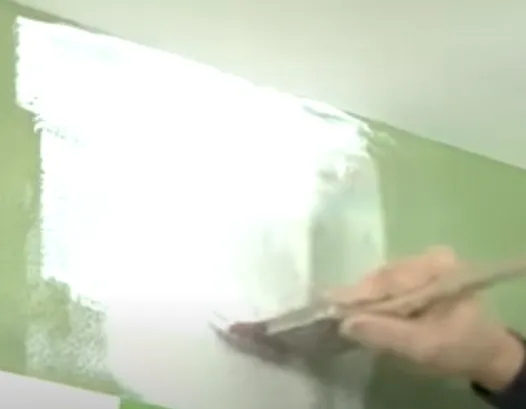
5. Scrape and sand
We’re nearly at the finish line. Glide your painting knife over the compound once or twice to catch any lingering rough patches. Next, grab your sanding tool of choice whether it’s a simple wood block wrapped with 100-grit sandpaper or Ken’s go-to, a specialized drywall sander and gently smooth out the area. Be sure to work your way into any ceiling crevices for a consistent finish. Once the surface is buttery smooth, brush away the dust and it’s time to prime!
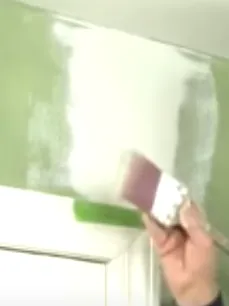
6. Prime and paint
Priming is essential if you want your wall patch to blend seamlessly with the rest of the surface. Apply a coat of primer evenly over the repaired area and allow it to fully dry. Once it’s set, move on to painting your wall as usual. And when the final brushstroke is done, remember to peel away that masking tape for a clean, crisp edge.
Need to fix a crack in your wall? Watch the full tutorial below.
Please SHARE this with your friends and family.
Article Sources: YouTube Monkey See