She Bleached Old Furniture The Stunning Transformation Has Everyone Talking
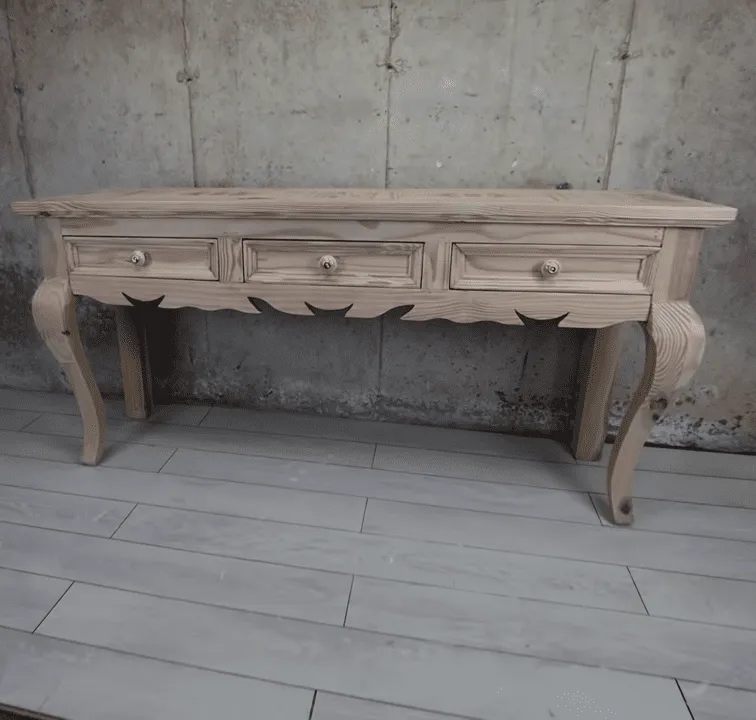
The method is deceptively simple, yet the transformation it brings to the wood is nothing short of extraordinary. His most recent creation is a showstopper.
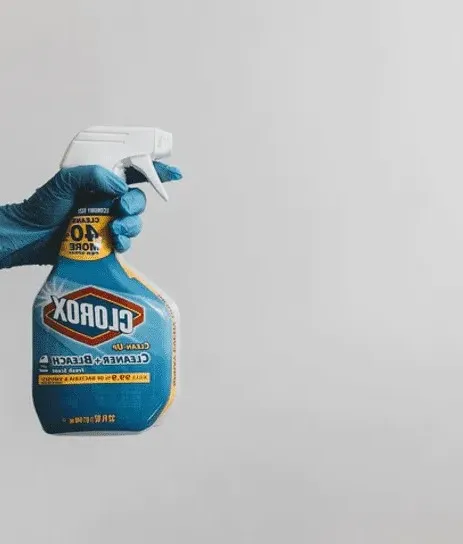
While most of us associate bleach with scrubbing bathrooms or whitening laundry, its creative potential goes far beyond that.
But its possibilities stretch far beyond the usual cleaning routine.
Bleach proves to be a surprisingly versatile ally perfect for sanitizing flower pots and houseplants, deodorizing grimy trash bins, preserving the life of fresh-cut blooms, disinfecting children’s toys, and, as you’ll soon see, breathing new life into tired old furniture.
Ready to dive in? Grab your go-to bleach and a piece of aged wooden furniture transformation is just a few steps away.
Thrift shops and garage sales are treasure troves for charming vintage furniture but more often than not, these pieces come drenched in dated orange hues that have long fallen out of favor.
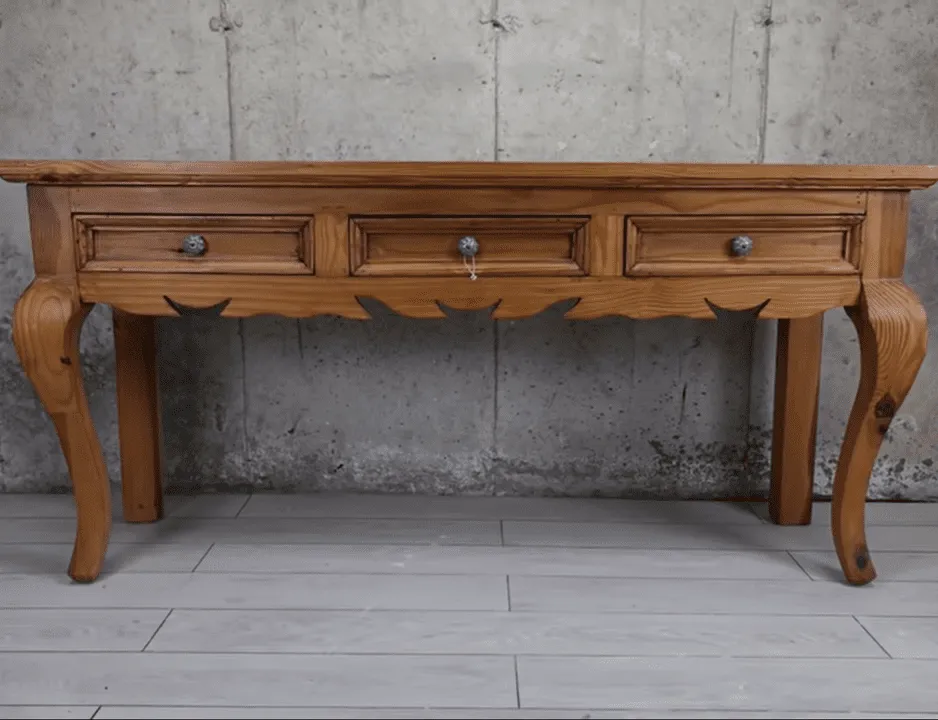
That’s where bleach becomes a game-changer it lifts away the dated wood tones, unveiling a fresh, contemporary look beneath the surface.
With your furniture prepped and positioned in your workspace (or right out in the backyard), here’s how to begin:
1. Preparation
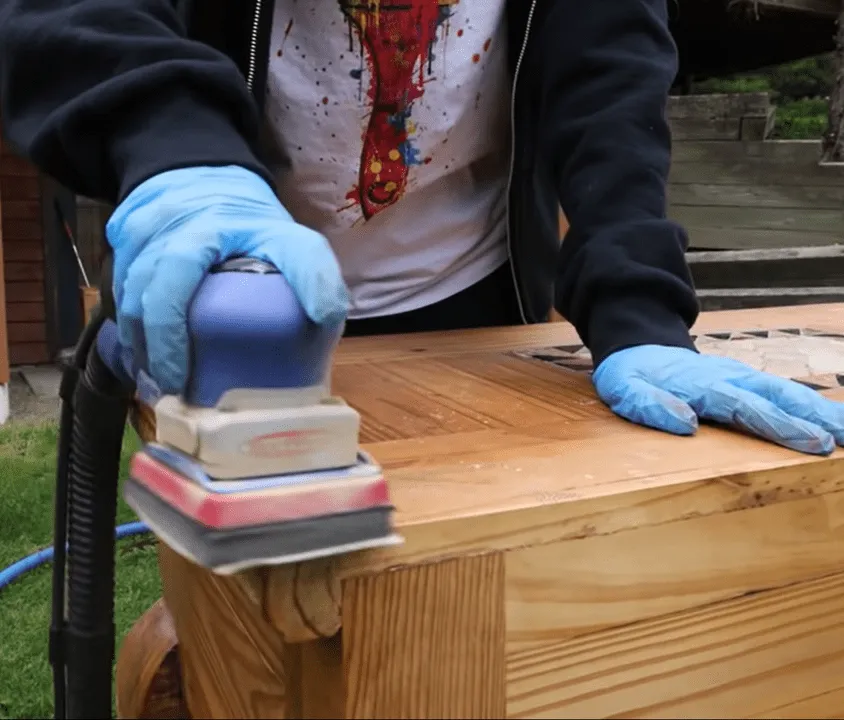
Begin by detaching all removable hardware think handles, knobs, and any screw-in drawers. Once the piece is stripped down, take a sander and carefully buff away the varnish or topcoat from every visible surface.
For the more intricate elements, like compact drawers or decorative trim, reach for a paint stripper such as Citristrip. Apply it generously, seal it under a layer of plastic wrap for about half an hour, then gently scrape off the loosened finish to reveal the bare wood beneath.
2. Whitening
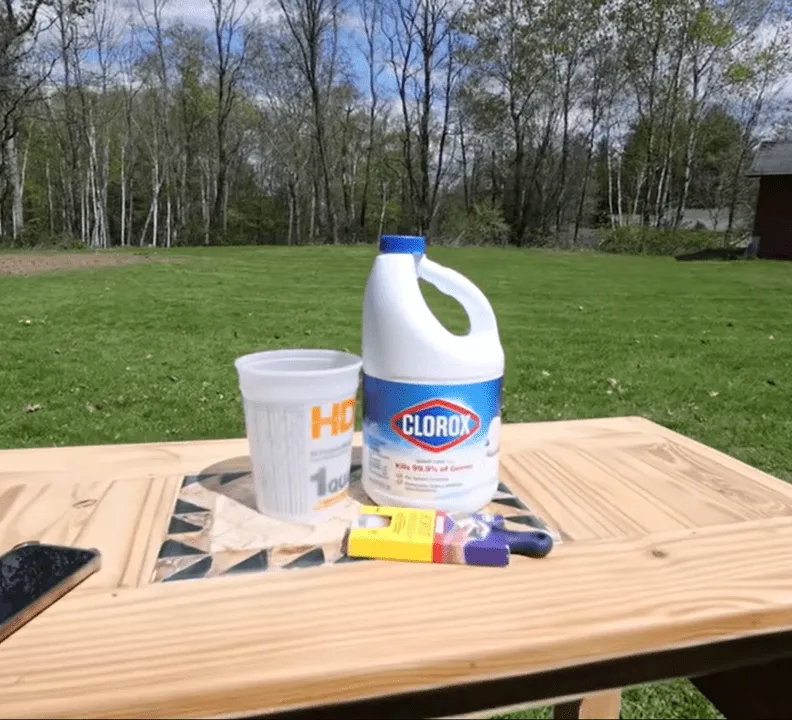
Katcha/ YouTube
Time to start the whitening process. Choose a brush size that feels right for the task here, a two-inch brush proved ideal.
For safety and ventilation, it’s best to work outside. Don a pair of durable gloves and a protective mask to shield yourself from the bleach fumes.
Pour a small amount of bleach into a disposable cup, dip in your brush, and begin applying it directly to the wood. Aim for uniform strokes and consistent coverage to ensure an even, luminous finish.
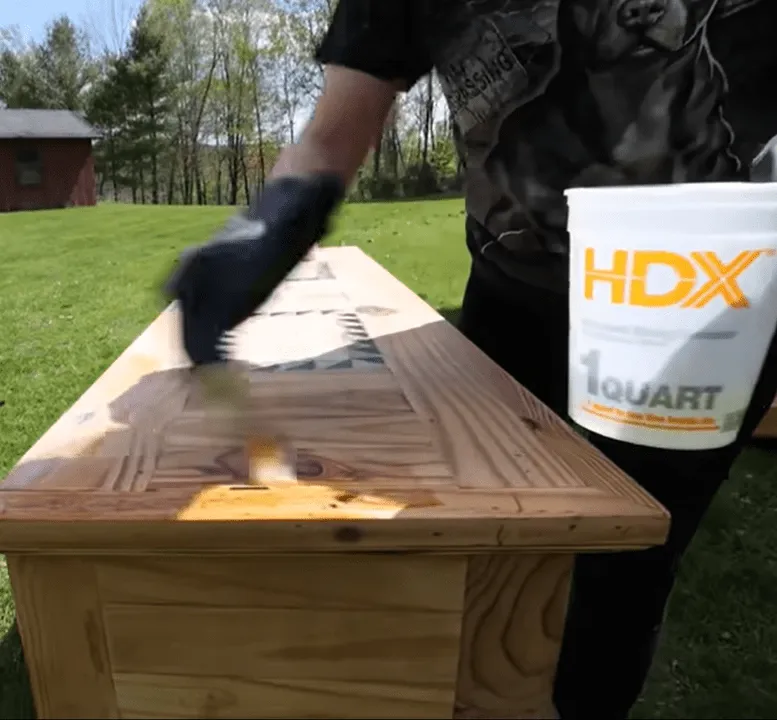
Katcha/ YouTube
Let the furniture bask in direct sunlight for at least an hour. You’ll begin to see a noticeable shift the wood appears lighter, cleaner, almost reborn.
Feel free to repeat the process as needed until the tone reaches your vision.
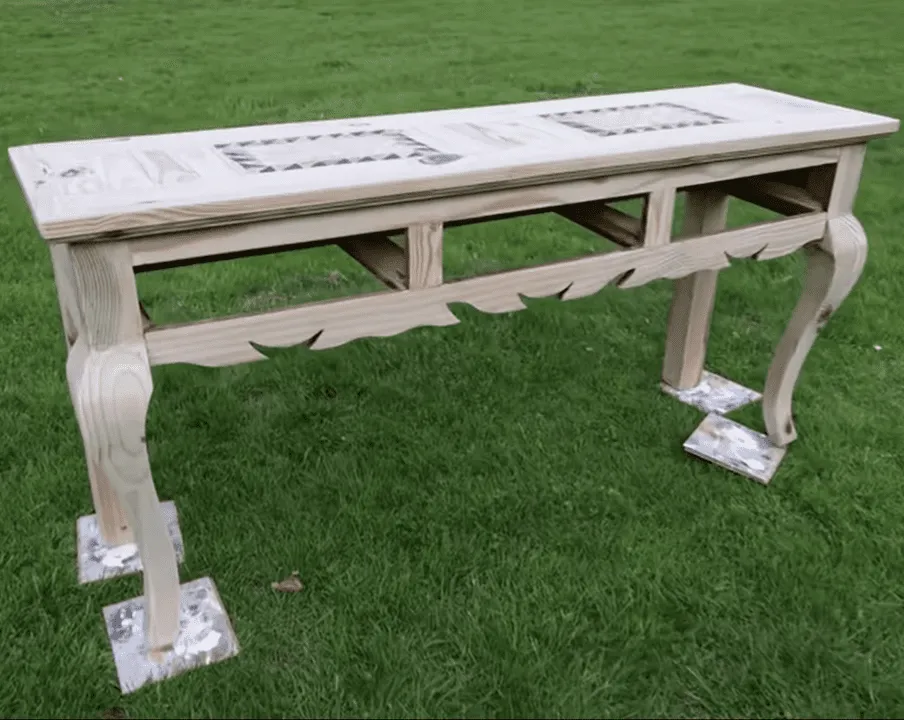
The number of applications is entirely your call, but in this case, three coats revealed a stunning, softly weathered wood finish.
3. Remove bleach and smooth
Next, it’s time to lift the bleach from the surface. The process is simple: soak a clean cloth in a bucket of fresh water, then gently wipe down every bleached area. Refresh the water each time it becomes cloudy or heavily saturated with bleach. Continue this rinse cycle until the water remains clear.
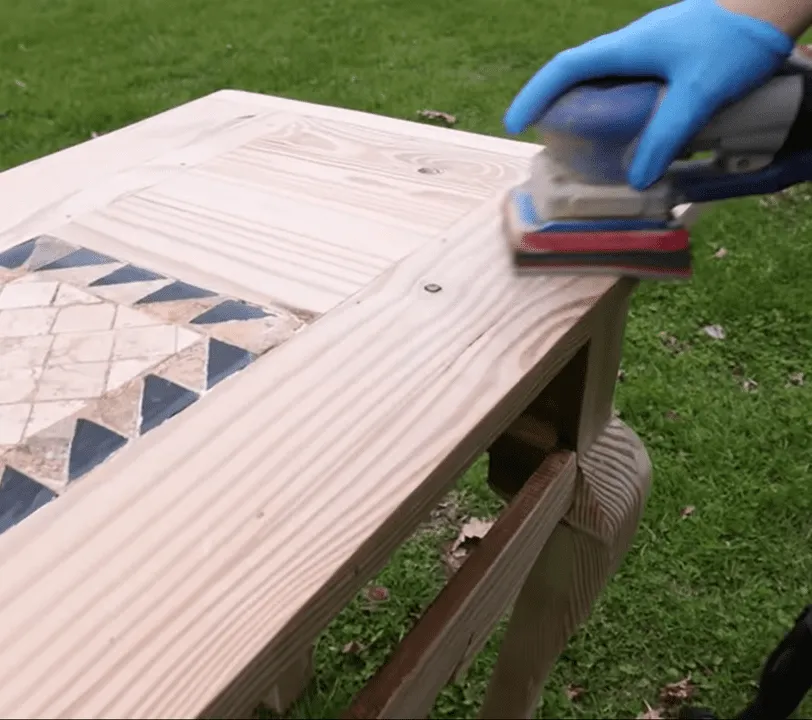
Once the wood is free of bleach residue, take a sheet of ultra-fine sandpaper and lightly smooth the entire surface, revealing a refined, touchable finish.
4. Customize your project
At this stage, the transformation is complete. If you’ve detached any parts, feel free to reassemble them and welcome your refreshed piece back into your living space.
However, if you’re inclined to personalize it further, now’s your moment. Even something as simple as swapping out old drawer pulls can breathe new character into a once-tired design. It’s the subtle touches that elevate the final look.
Who knew that bleaching furniture could have such beautiful and effective results?
See the complete transformation of this entry table in the video below!
Please SHARE this with your friends and family.
Article Sources: Katcha/ YouTube RD

