Turn Plastic Bottles Into Charming Self Watering Planters Easy DIY for Any Space
Such a clever solution. Store-bought planters cost a fortune these days.
Plastic bottles rank among the most frequently discovered debris polluting our oceans.
A recent report reveals that every minute, a staggering one million plastic bottles are purchased across the globe yet a mere 7% are actually recycled into new ones. Picture the sheer volume of plastic that ends up discarded and forgotten.
That is why it is crucial to reduce the use of plastic in general.
For those who find it tough to part ways with plastic bottles, the next best choice lies in giving them a second life through mindful recycling or creative upcycling.
Here’s a creative way of upcycling your plastic water bottles.
Turn them into self-watering planters! The materials are simple.
To make one planter, you will need three (3) bottles.
You’ll also need some paint, old cloth, scissors, cutter, and a solder.
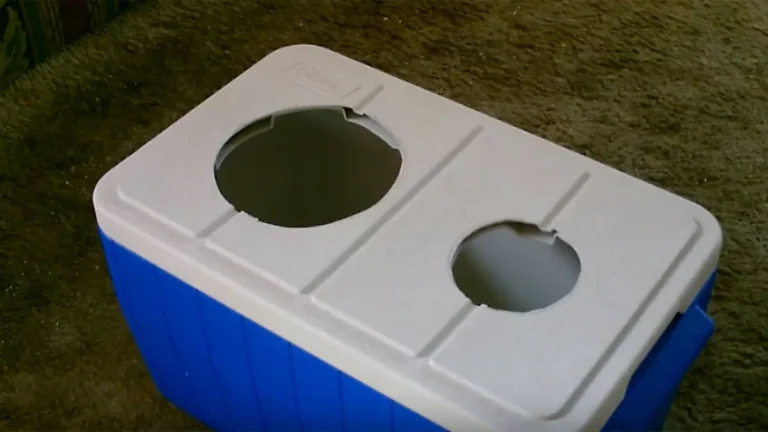
First, measure the opening, trace, and cut.
Take the bottle cap and trace two circles on one side of the plastic bottle. Ensure there’s ample space between them just enough to accommodate two plastic bottles resting atop. Use a precision cutter to slice along the outlines, then refine the edges with a pair of scissors.
As an alternative method, heat a piece of metal until it’s hot enough to soften the plastic. Gently pierce the surface to create an opening wide enough for your scissors to slip through, making the trimming process smoother and more controlled.
Next, grab two additional plastic bottles and slice off the top portion around six inches down from the neck.
You can follow the natural ridges or grooves of the bottle for guidance during this step, depending on its shape and design. Gauge the height based on the size of the plant you intend to nestle inside.
If you’re feeling creative, give the water bottles a splash of paint to infuse them with color and charm.
Opt for spray paint or a latex-based variety both work beautifully. Wrap masking tape around the edges to craft clean lines or playful patterns before applying your color of choice.
Now comes the moment to engineer the planter’s self-watering mechanism.
Begin by melting a hole at the center of each bottle cap using a hot soldering iron or that heated metal tool from earlier. Next, take an old cloth and cut it into half-meter-long strips. Thread one strip through each hole and pull it partway through to create a wick.
Once prepared, screw the modified caps back onto the painted bottle tops you set aside earlier.
Now, it’s time to set up your planter.
Position the first bottle in your desired planter spot, ensuring the holes face upward. Pour in water until the bottle is roughly two-thirds full.
Now, fasten the prepared lids complete with wicks onto the painted bottle tops you crafted earlier.
Next, position the second set of bottles on top, guiding the bottle caps through the pre-cut openings. Make sure the cloth strip dips fully into the water below, while the opposite end extends into the planter above. This fabric strip will function as a wick, steadily drawing moisture upward to nourish your plant.
Secure the lids firmly onto the painted bottle tops to complete the assembly.
Stabilize the bottles to make sure they’re secured.
Lastly, transfer your preferred plant to your new pots!
Gently tug the exposed cloth strip upward before adding soil this guarantees that moisture from the lower chamber is drawn up efficiently to hydrate the soil and sustain your plant. Once that’s in place, nestle your plant into its new home.
And just like that your upcycled, self-watering planter is complete and beautifully functional.
Secure the painted bottle tops with the attached lids to finish the setup.
Don’t forget to fertilize your plants from time to time.
Place it where it can bask in generous sunlight, and mist the leaves and blossoms whenever they appear thirsty.
This charming garden craft is not only delightful to look at but serves a practical purpose too. Best of all you’ve just spared three plastic bottles from drifting into the ocean’s depths.
See the full tutorial in the video below!
Please SHARE this with your friends and family.
Article Sources: DIY Garden Ideas The Guardian