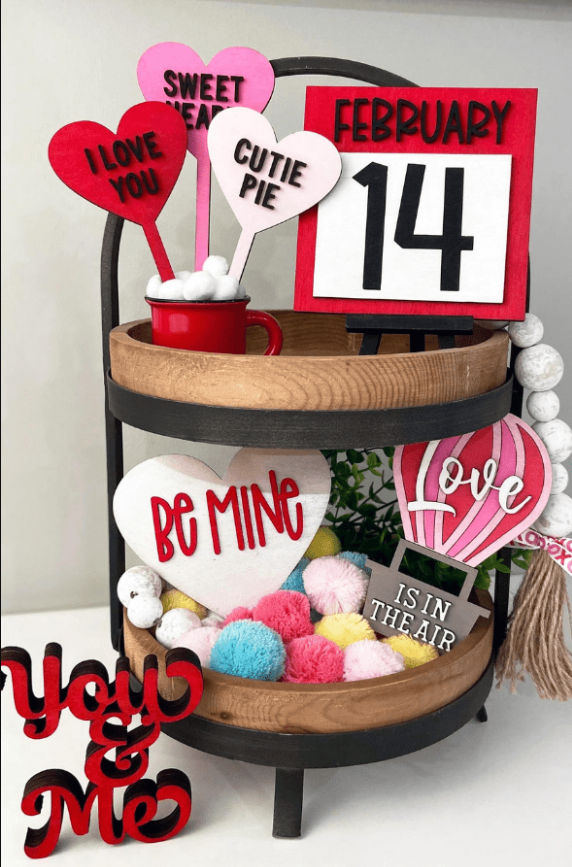
Easy Dollar Tree Tiered Tray Valentine Decor You’ll Love
I love decorating tiered trays because they are simple to style and instantly make a space feel more polished. This year, I set a fun challenge for myself to create a Valentine’s Day tiered tray using only items from Dollar Tree.
After seeing how pricey seasonal decor can be, I was pleasantly surprised by how many cute and affordable finds they had. I paired everything with a sturdy white tiered tray I bought on sale, making it a budget friendly setup that works beautifully all year long.
How To Decorate a Tiered Tray for Valentine’s Day Using All Dollar Tree Items:
Supplies You Will Need (I purchased all the supplies from Dollar Tree except for the tiered tray):
- 2 Mr & Mrs Valentine Gnomes
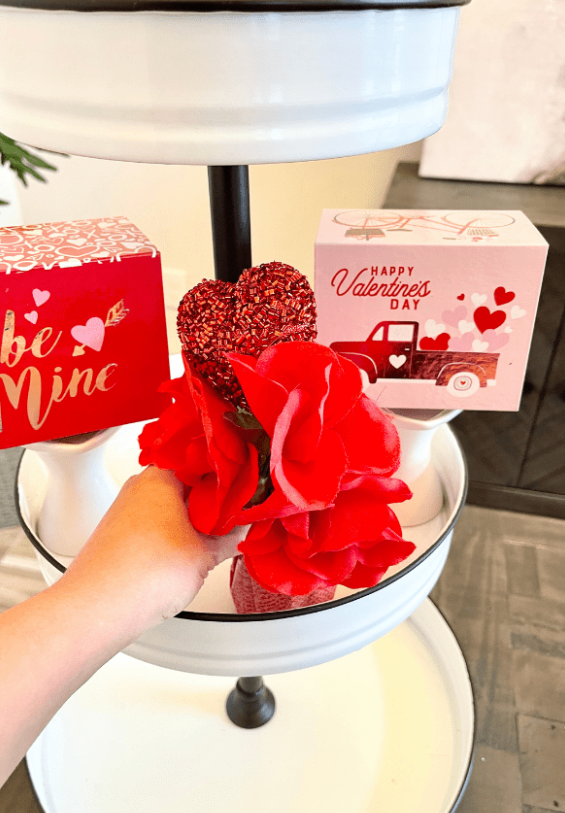
- Three 5 Stem Pink Rose Bushels
- Two 4 Stem with 2 Glittery Heart Red Rose Bushels
- 1 Valentine Heart Vase
- 2 Mini Heart Shaped Stands
- Two Mini Valentine’s Day Gift Boxes
- 3 Valentine’s Balloon Weights
- 1 Bag of Pink or Red Rose Petals
- One ‘My Love’ Wood Sign
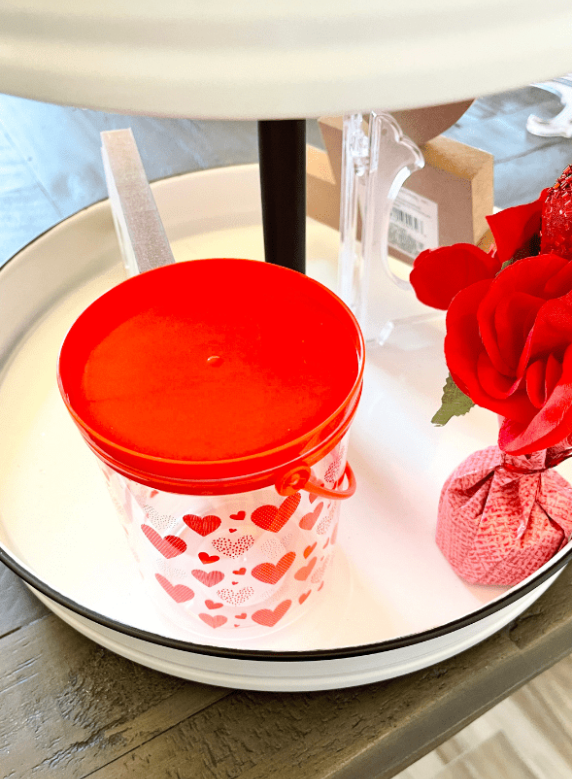
- 1 Heart Bucket
- One ‘Loads of Love’ Wood Sign
- One Pack of 2 Clear Display Easels
Step 1: Start With the Flowers
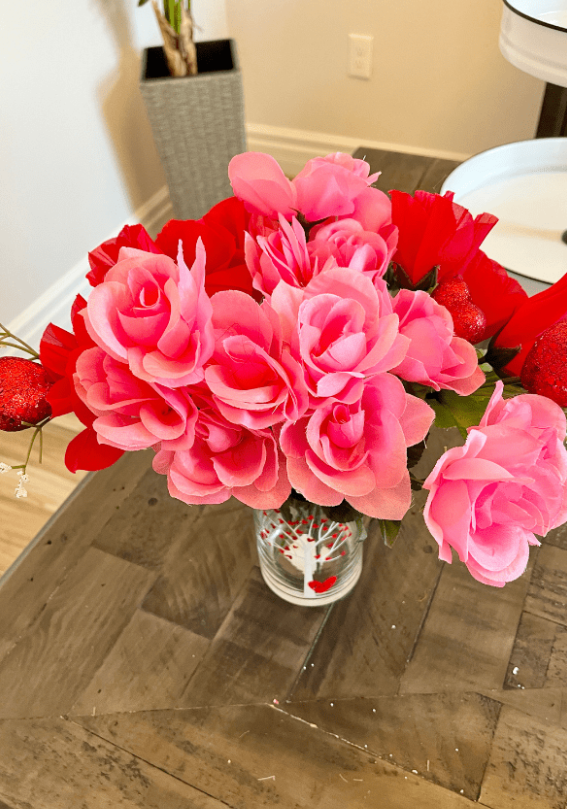
This is where the whole look really starts to come together and set the mood for the entire tray. Take your three pink rose bushels and two red rose bushels and gently arrange them inside the heart shaped vase, letting the flowers naturally fall into place.
I like placing the pink roses right in the center to keep the arrangement soft, romantic, and balanced, then adding the red roses on each side to create a little contrast and depth. It gives the vase that full, layered look without feeling overdone.
Step 2: Find the Perfect Spot for Your Vase
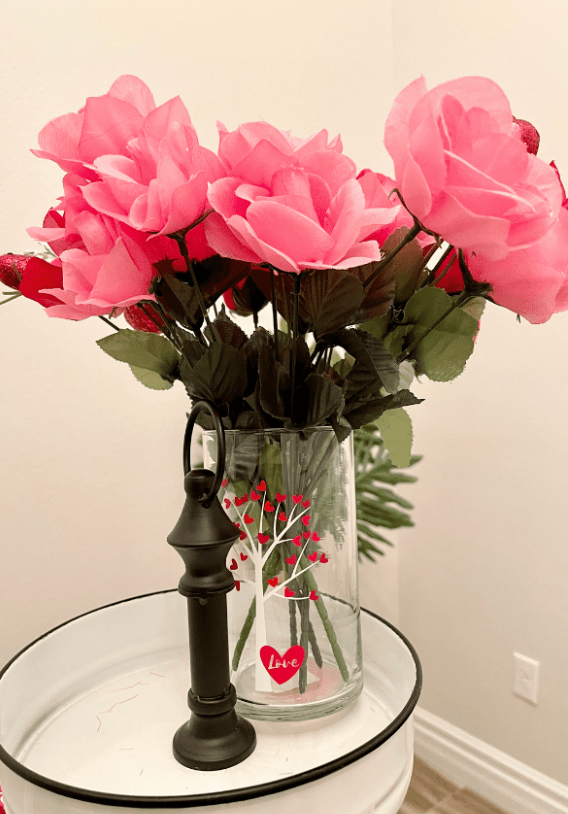
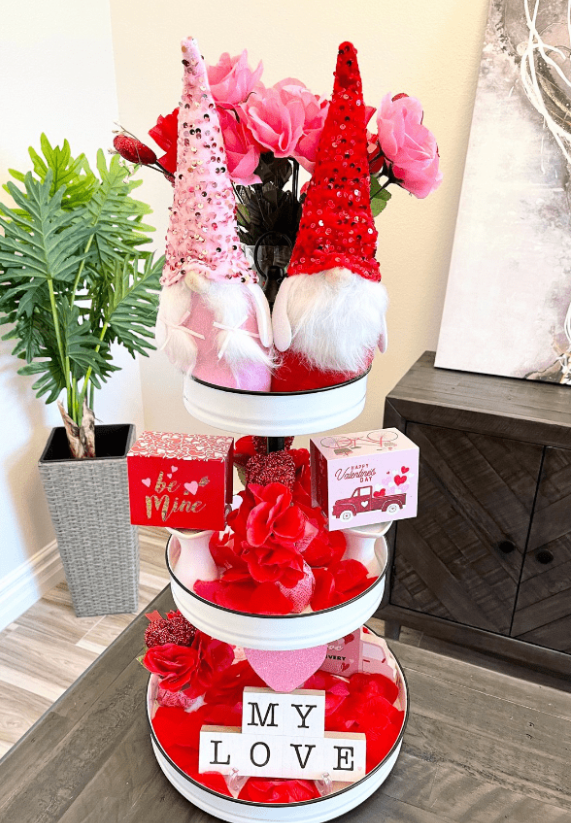
Now it is time to place your vase on the tiered tray and start building the overall look. Set it toward the back of the top tier so it adds height and helps draw the eye upward right away. This creates a strong focal point and makes the tray feel more layered and intentional.
Keep in mind, this step really depends on the style and size of your tiered tray. If yours looks similar to mine, you can place everything exactly the same way. If it is a little different, simply shift the vase slightly until it feels balanced and visually pleasing. Trust your eye here and go with what looks right to you.
Step 3: Add the Cute Factor
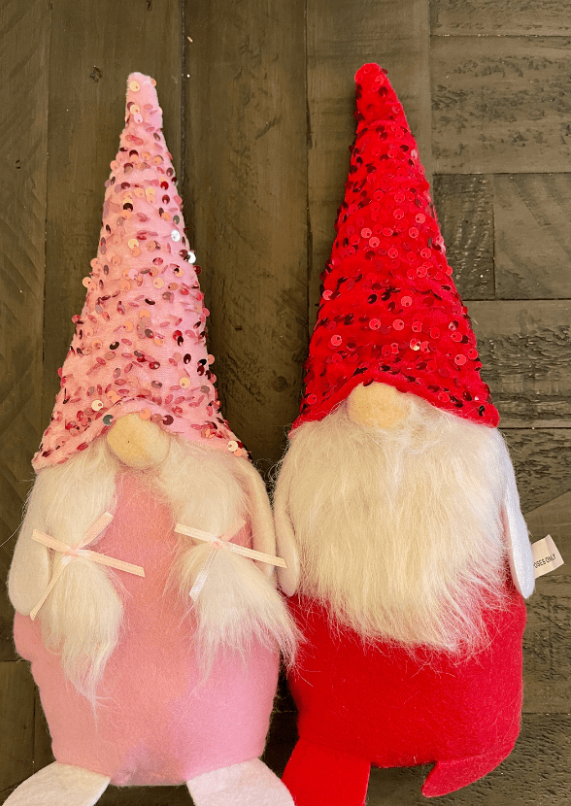
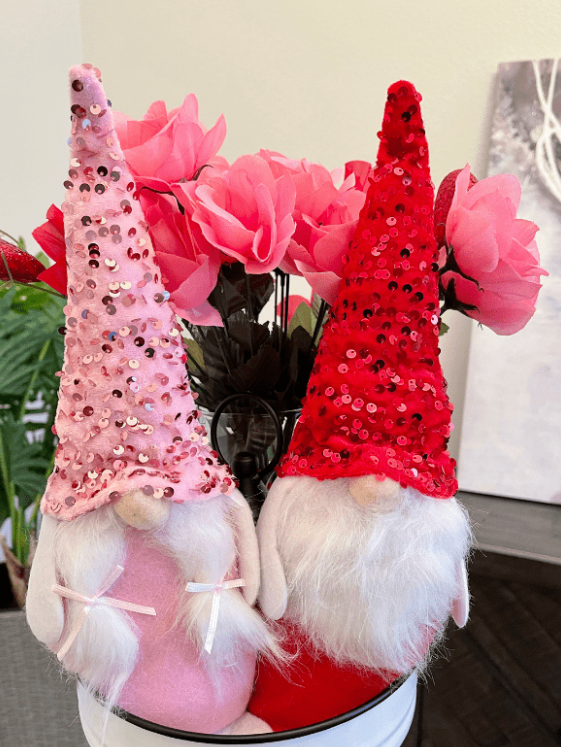
This is the moment when the tray really starts to feel finished and full of personality. Place the Mr. and Mrs. gnomes along the front of the top tier so they are the very first thing you notice when you look at the tray.
Yes, these adorable little gnomes are from Dollar Tree, which honestly makes them even better. Once they are in place, step back for a second and take another look at your flowers. Fluff the roses, shift them around, and make small adjustments until everything looks full, balanced, and exactly how you want it to feel.
Step 4: Style the Second Tier
With the top tier complete, it’s time to move down to the second tier. This is where you start adding balance and detail.
Place the two mini heart-shaped stands on opposite sides of the tray. Then set one mini Valentine gift box on each stand. This simple setup keeps everything looking symmetrical while adding a sweet, layered Valentine touch.
Right between the two gift boxes, place the Valentine rose balloon weights in the center — one toward the front and one toward the back.
Even though they’re technically balloon weights, they work surprisingly well as decor. They’re adorable, they add a little height, and because the tiered tray is nice and sturdy, they stay perfectly in place without any trouble.
The second tier is done, now it’s time to finish off your Valentine’s Day Decorations with the third tier!
Step 5: Finish Strong With the Bottom Tier
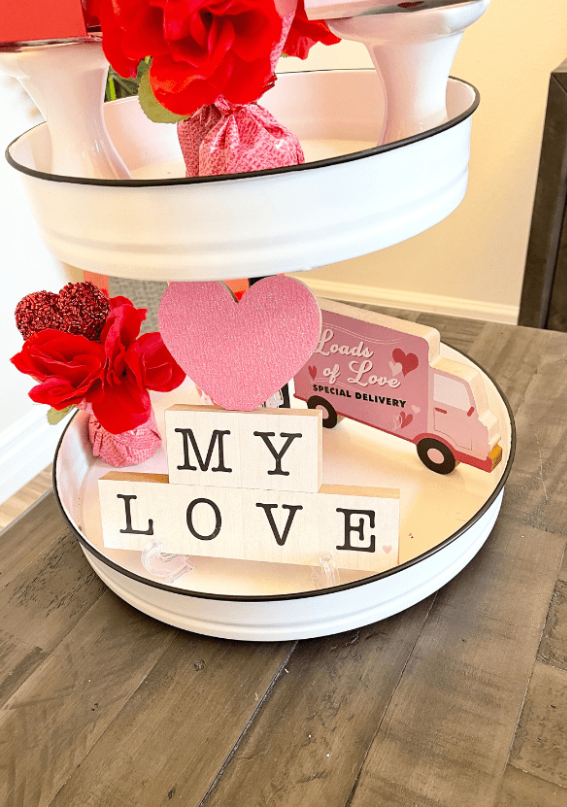
Now it is time to style the bottom tray and really bring everything together. Start by propping the “My Love” wood sign onto one of the clear display easels and placing it right at the front of the tray. Since this tiered tray has a bit of depth, the easel helps lift the sign so it stands out instead of blending into the background.
Next, place the “Loads of Love” wood sign on the right side. Add a Valentine balloon weight to the left to keep things balanced, then tuck the heart bucket toward the back of the tray. This combination of height, spacing, and layers makes the bottom tier feel full and styled while still looking clean and uncluttered.
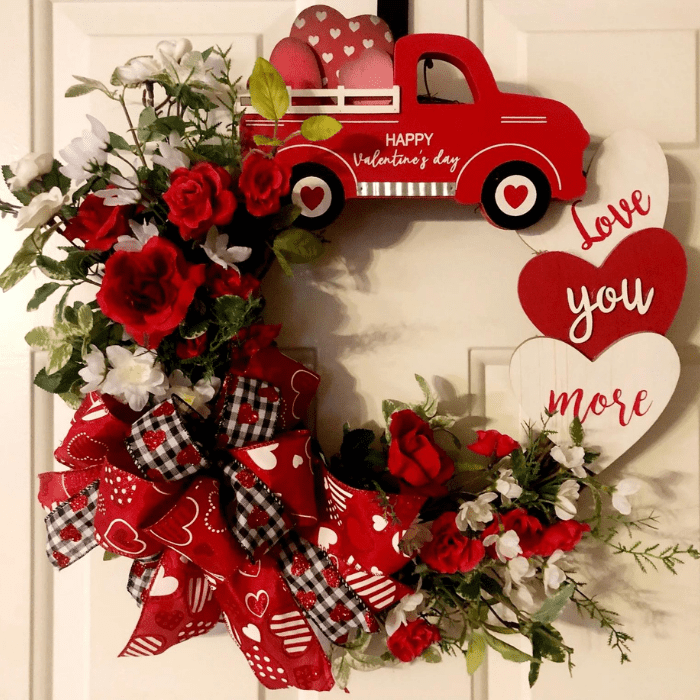
Creative Valentine’s gifts for him are a nice reminder that small, meaningful gestures often matter more than expensive surprises.

Once everything is styled, it already looks amazing sitting on my dining room table. Honestly, you could stop right here and it would still feel complete.
But I wanted to take it just a little further. I lightly sprinkled pink rose petals on each tier for an extra romantic touch. Then I switched to red rose petals to see which look I liked more, and I have to say, both options look beautiful and I truly love them both.
The best part about this whole setup is the cost. Decorating the entire tiered tray for Valentine’s Day came out to right around twenty dollars since each item was only one dollar.
The only exception was the clear display easels, which came two in a pack. That means they ended up costing about fifty cents each, making this decor both cute and budget friendly.
Honestly, you could not even make these Valentine’s Day decor pieces for one dollar. It would cost more to DIY most of these items than it does to simply grab them from Dollar Tree.
To say I am happy with how my Valentine’s Day tiered tray turned out is a huge understatement. I saved money, I saved time, and I did not have to stress over making anything from scratch. The only DIY part was putting it all together, and that is exactly the kind of project I love.