Brilliant Trick: Grow Juicy Fat Carrots in Plastic Bags No Garden Needed
His approach is refreshingly straightforward, stripping away the hassle entirely.
The pandemic disrupted the rhythm of daily existence in ways no one could have foreseen.
In that first chaotic year when COVID emerged and the world was urged into isolation for the safety of all, people instinctively sought new outlets for joy, distraction, and engagement within the confines of home.
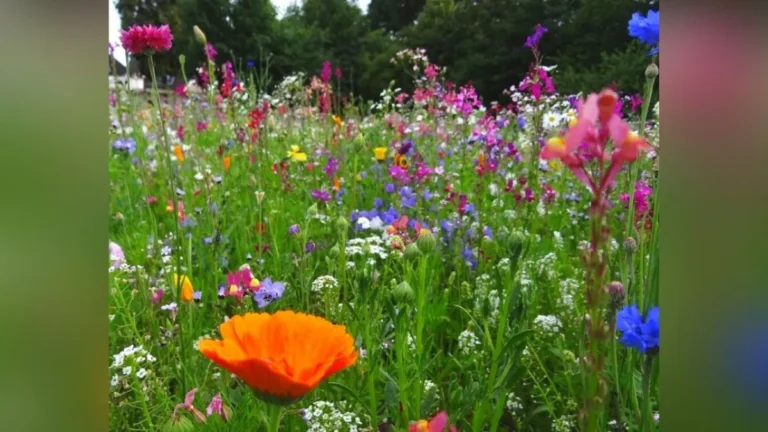
Countless people found themselves whisking up creations in the kitchen, turning to the comforting rhythm of baking. Others immersed themselves in unfamiliar tongues, mastering new languages one phrase at a time. And then there were those who disappeared for hours into the quiet sanctuary of their gardens, hands deep in soil, cultivating both plants and peace.
And gardening is where it’s at!
Whether blessed with sprawling gardens, modest front yards, or simply a sun-kissed balcony or terrace, they grabbed their tools with quiet determination and began to sow. Green dreams took root in pots, beds, and planters wherever a bit of earth or space allowed.
If you’re someone who finds joy in nurturing your own vegetables from soil to table, then this clever Korean gardener’s trick is just what your green thumb has been waiting for.
With a single video, this gardener has unveiled a brilliantly simple method growing plump, vibrant carrots in ordinary plastic bags. No fuss. No fancy equipment. Just pure ingenuity.
Here’s what you’ll need to get started…
A garden’s not one of them!
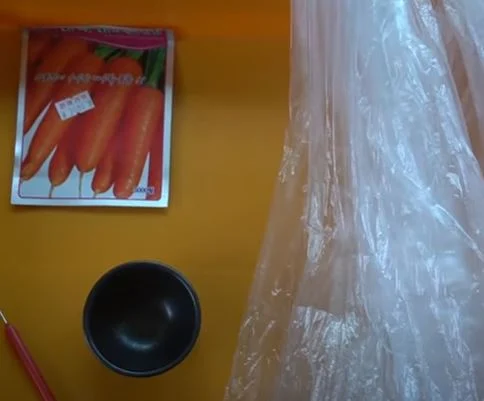
- waste plastic bags
- red clay and compost mix
- a couple of wood planks
- carrot seeds
Now, to the actual planting of your seeds.
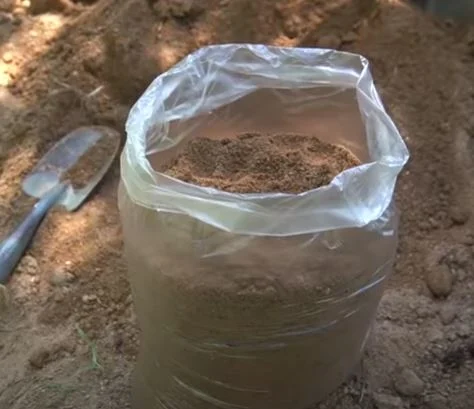
First, fill the bags with dirt.
Begin by filling the plastic bags with a rich blend of clay and compost a nutrient-packed duo perfect for root development.
It’s worth noting here: grow bags are also a great option. The key distinction lies in their construction—while plastic bags are synthetic, grow bags are crafted from breathable fabric, allowing better airflow and drainage for your crops.
Cloth bags offer superior breathability and, naturally, are the greener choice. That said, there’s no need for perfection use whatever bag you already have within reach.
Once prepped, arrange the bags atop wooden planks, ensuring they’re elevated and free from contact with the ground.
To mimic airflow in plastic bags, simply pierce a few ventilation holes using an awl or similar sharp tool—easy, effective, and garden-friendly.
Put them in a sunny spot.
Keep in mind, it’s best to designate a permanent resting place for your grow bags from the outset. Shifting them around later can disrupt the delicate rhythm of root development and compromise the healthy growth of your vegetables.
Next, use your finger to gently carve out three shallow trenches across the surface of the soil in each bag. Carrot seeds prefer to nestle just about a quarter inch beneath the surface, so keep the grooves subtle.
Scatter the seeds evenly into the furrows, then lightly press the soil flat again with your palm to ensure good contact and coverage.
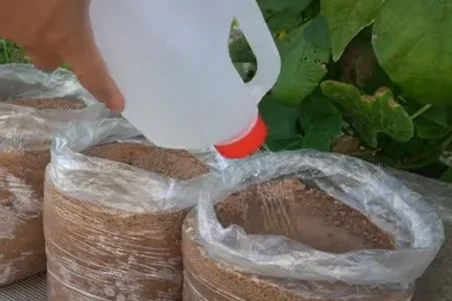
Water the soil carefully.
Be cautious with your watering technique if you’re too forceful, the gentle stream can dislodge or scatter the tiny seeds, disrupting their placement. A soft, measured pour is key to keeping them right where they belong.
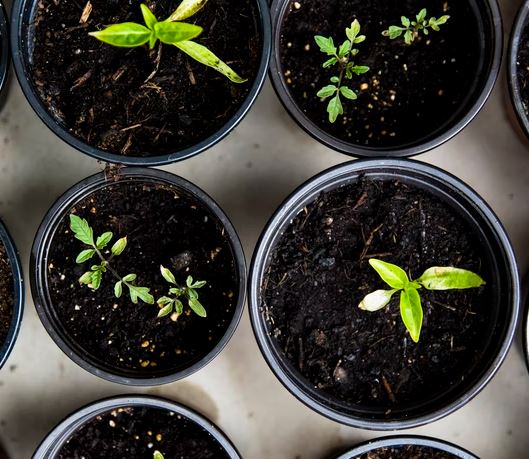
Wait for them to pop.
Within just a few days, expect to spot the first delicate green shoots poking through the surface a sure sign your garden is waking up.
As the days roll on, more seedlings will emerge and begin to thicken. But don’t let them overcrowd. Gently thin them out with care, giving each future carrot the space it needs to stretch, swell, and thrive underground.

Yes, you have to pull some.
Continue thinning the seedlings as they grow, and exercise a bit of patience this process rewards the diligent. Just over a month in, top up the bags with a layer of fresh soil to support healthy root expansion.
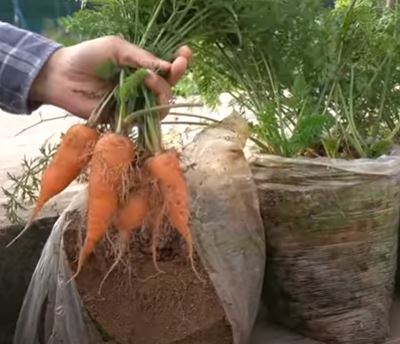
By the end of the third month, your carrots will be ripe for harvest crisp, flavor-rich, and grown entirely on your terms. These vibrant, organic beauties may just be the most delicious you’ve ever pulled from the earth.
Get the full tutorial from Korean Gardener in the video below!
Please SHARE this with your friends and family.
Article Sources:Dreamy Home