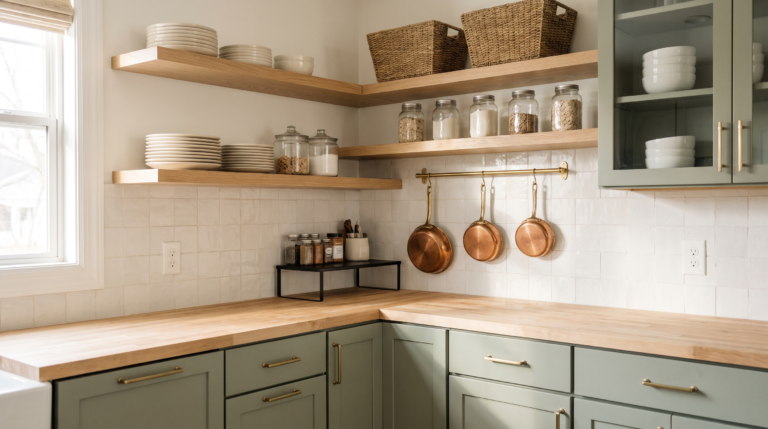
9 Kitchen Cabinet Makeovers: Before and After
Ask ten people what to do with the space above their kitchen cabinets and you get ten different answers. Fill it with baskets. Close it up. Rip the cabinets out entirely and start over.
The honest answer is that it depends on the kitchen, and mostly on the ceiling.
Some kitchens have a wide gap that swallows light and collects grease. Others have a narrow strip that looks awkward no matter what goes in it. The fixes below cover both, and they range from a quiet afternoon with a paintbrush to a full weekend with a contractor on site.
What the before and after photos usually show is not more storage. It is breathing room. Taking cabinets to the ceiling, swapping uppers for one long shelf, or pulling them off the wall entirely all do the same thing in different ways. They resolve a line that was left unfinished.
Here are nine real changes people made to that space, what each one solved, and what it cost them in trade-offs.
1. Replace The Upper Cabinets With Floating Shelves
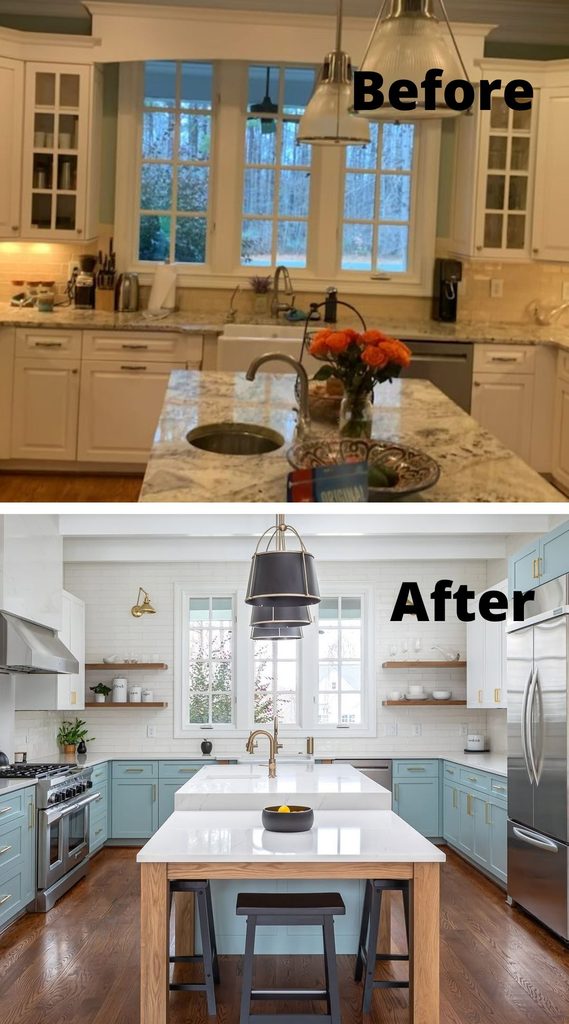
A wall of closed cupboards can make a small kitchen feel like it is pressing in on you. Pulling them down and running one long floating shelf in their place changes the whole feeling of the room, and the difference shows the moment you walk in.
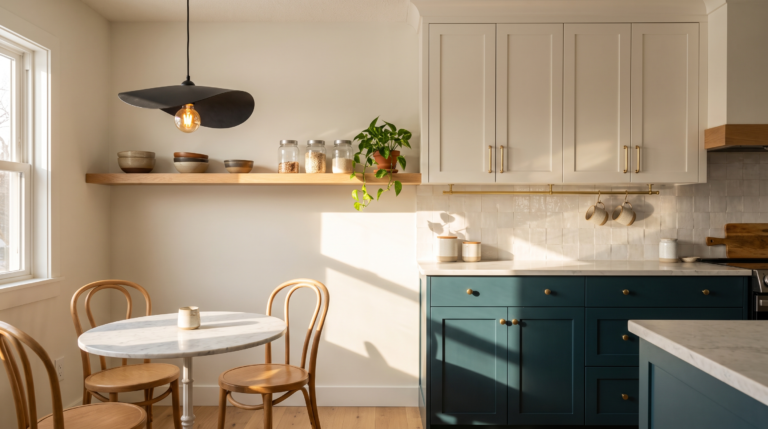
The reason it works is depth. Upper cabinets stick out far enough to sit in your sight line, while a shallow shelf lets the wall behind it stay visible. That extra visual distance is what makes the kitchen read as bigger. Swapping gloomy dark brown units for a bright white shelf and matching lower cabinets pushes the effect further. The trade-off is real, though. Everything on that shelf stays on display, so only the pieces worth looking at can live there.
Best suited for small kitchens that feel closed in and already have decent lower storage.
2. Remove The Upper Cabinets

Push that same idea all the way and take the wall back completely. No shelf, no cupboards, just clean plaster and light where a row of heavy doors used to hang.
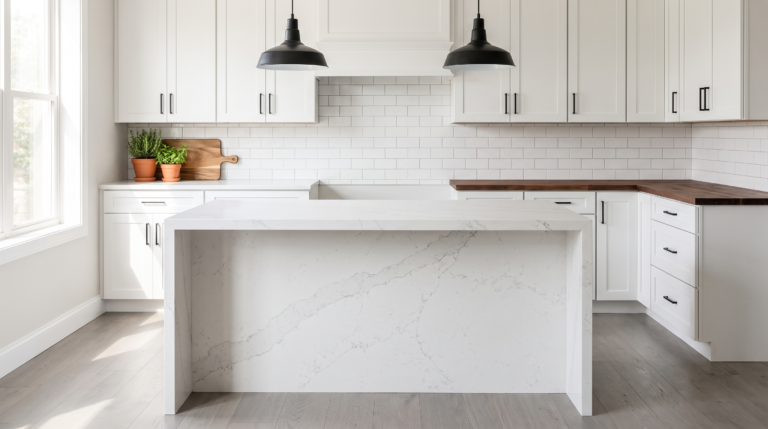
Storage has to go somewhere first, which is the part people skip. Deep lower drawers, two tall storage columns, and a larger island can absorb almost everything the uppers held, and a bigger island usually adds prep space in the bargain. Keeping the palette light finishes the job, since a bare wall in a dark color just reads as empty rather than open. It is a bold move and it suits kitchens that felt gloomy every single afternoon, not just occasionally.
The whole room breathes in a way it simply could not before.
💡 Pro Tip: Count your storage before the cabinets come down, not after. Empty the uppers onto the table first, and if the lower cabinets and island cannot hold all of it with room to spare, the kitchen is not ready for this one.
3. Add Open Cabinets
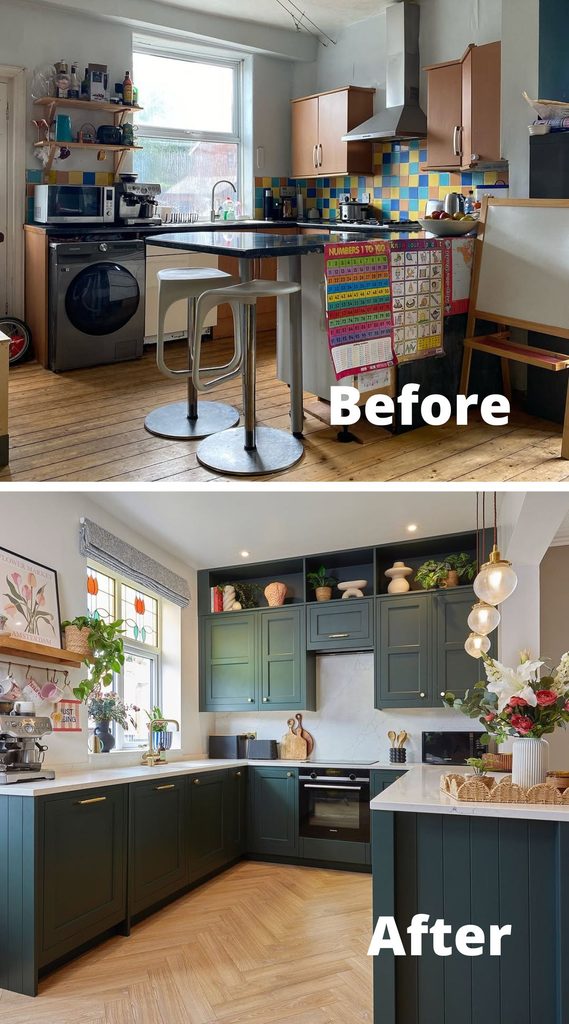
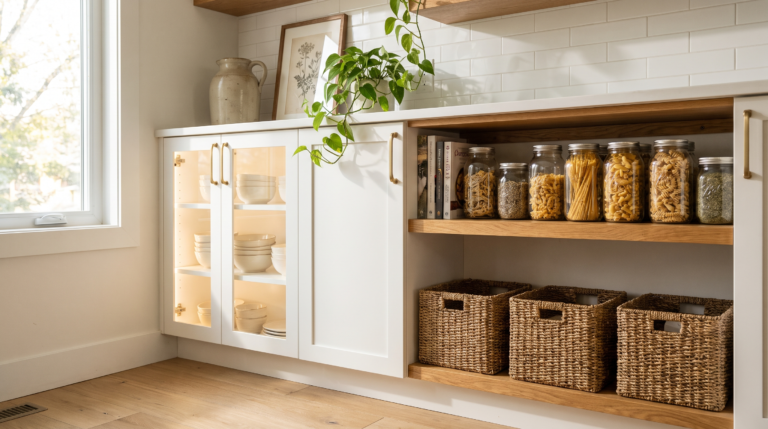
There is a middle ground between closed doors and a bare wall. Keeping the cabinet boxes and simply leaving the doors off gives a kitchen the open look without giving up the structure.
The frames are what make this work better than plain shelving. Because the sides and top stay in place, each opening reads as a finished box rather than a plank stuck to the wall, and matching the frame material to the rest of the cabinetry keeps everything looking planned. Stack plates and bowls in neat piles, one type per section. That built-in framing also hides a lot, since anything slightly untidy still sits inside a clean rectangle instead of spilling into open air.
A smart pick for anyone who wants the airy look but knows their shelves will never stay perfectly styled.
4. Change The Cabinets

Sometimes the gap is not the problem. The cabinets themselves are, and no amount of styling above them will fix dark wood, laminate counters, and a bulky range hood eating the wall.
Swapping tired cabinetry for a mix of white uppers and warm wood lowers is the change that resets everything else. Light cabinet fronts bounce whatever daylight the room gets, which is exactly what a dim kitchen with one sliding door needs. Quartz counters, light wood flooring, and a tiled backsplash carry the brightness through so the new cabinets do not sit alone. Adding a section of open shelving keeps it from feeling like a wall of boxes again. Mornings in a kitchen like this stop needing the overhead light on.
Proof that the biggest change often starts below the gap, not inside it.
👉 Suggestion: Look for flat or shaker-front cabinets in warm white or soft cream rather than stark bright white. Warmer whites sit better beside natural wood and hide daily marks far more forgivingly.
5. Store Larger Pots And Jars Over The Cabinets
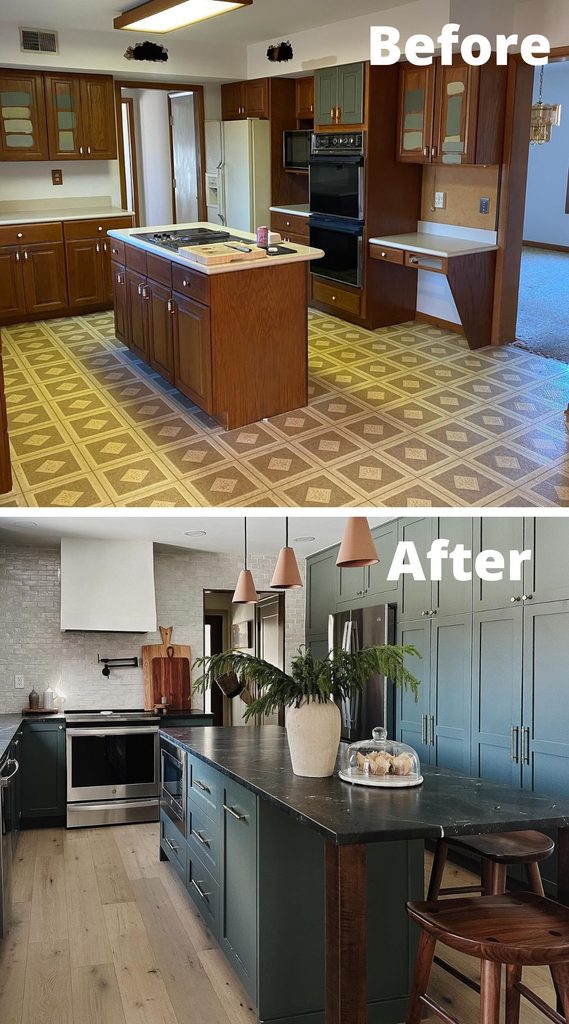
Not everyone wants to lose their uppers. For kitchens short on room, the smarter move is running the cabinets all the way to the ceiling and treating that top row as real storage.
That closed top row is what gives the kitchen its clean line, because nothing sits exposed to collect grease and dust. Fill it with the things used a few times a year. Large stockpots, the roasting tin, the good dish set, spare jars. Keeping rarely used items up high frees the reachable shelves for everyday cooking, which is the whole point. The trade-off is worth knowing. Once the cabinets meet the ceiling, seasonal decorating moves down to the counter and the island instead.
Made for small kitchens where every inch has to earn its keep.
6. Kitchen Extension And More Light
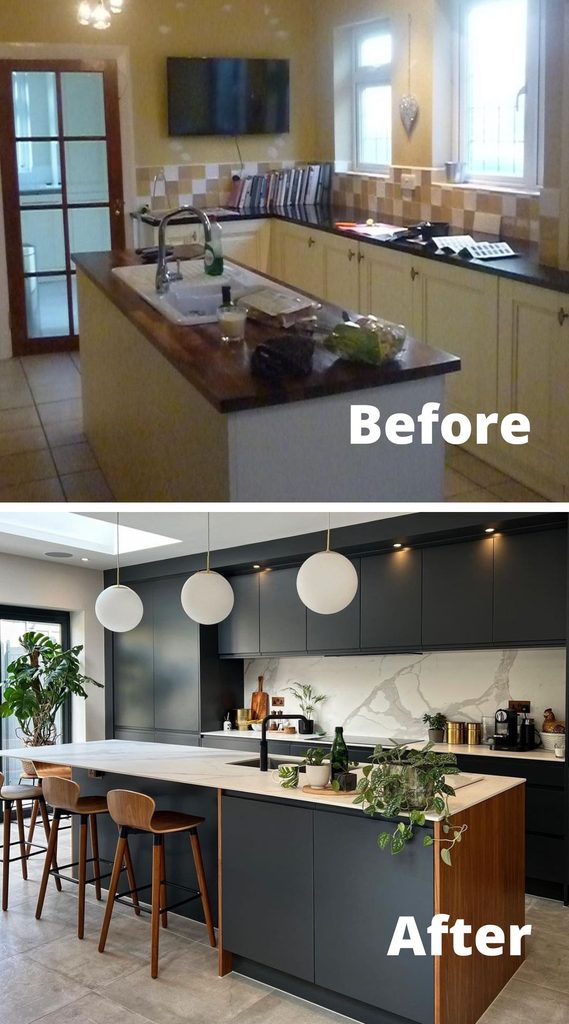
Taking cabinets to the ceiling solves storage, but it can cost the room daylight, especially when a cupboard run covers a window. That trade has to be answered somewhere else.
Light coming from above is the fix. A ceiling window set beside the cabinetry drops daylight straight down onto the counters, which is exactly where it is needed for prep work. Widening the doorway pulls more light in from the next room at the same time. Above the top cabinets, a slim built-in structure holds hidden lamps and gets clad in the same material as the units, so it disappears into the run. That evening glow along the ceiling keeps the kitchen usable long after the sun goes.
The light shifts through the day, natural from above and warm from the cabinets once it darkens.
💡 Pro Tip: Run the hidden lighting on its own switch, separate from the main overhead. That low ceiling glow is enough on its own for late-night kitchen trips, and it saves flipping on the harsh main light at midnight.
7. Kitchen Renovation With New Cupboards

Another way to close the gap is to simply build into it. Adding a second row of upper cabinets fills the space entirely, and the result looks like the kitchen was designed that way from the start.
Two stacked rows read as one tall run rather than cabinets with a gap above, and that unbroken vertical line is what makes a standard kitchen feel taller. The upper row is best kept for things that rarely come down. Big pots, special dish sets, the porcelain cups that only appear when someone visits. Reaching them takes a step stool, which is fine for items used twice a year and frustrating for anything else. Nothing up there ever gathers dust again.
Ideal for kitchens with high ceilings and more belongings than cabinet space.
8. From Outdated Clutter to Warm Modern Charm

Not every kitchen needs the gap closed. Some just need everything around it brought into this decade, and the space above the cabinets follows along once the rest catches up.
Dated white cabinets and red carpeting pull a room backward no matter what sits on top. Swapping in sleek oak cabinetry and neutral tones warms the whole kitchen, and once the palette settles, the top of the cabinets can hold a few simple pieces and a little greenery without looking like an afterthought. Quartz counters and glass-paneled doors finish it off, since glass breaks up a solid run and adds depth where a flat wall of doors used to be. The difference shows most on a gray afternoon, when the room stays warm instead of turning dull.
A reminder that good design starts with how a space feels.
💡 Pro Tip: Wait until the cabinets and counters are in before choosing anything for the top. Decor picked against the old palette almost never works with the new one, and the scale usually looks wrong too.
9. Place For Plants

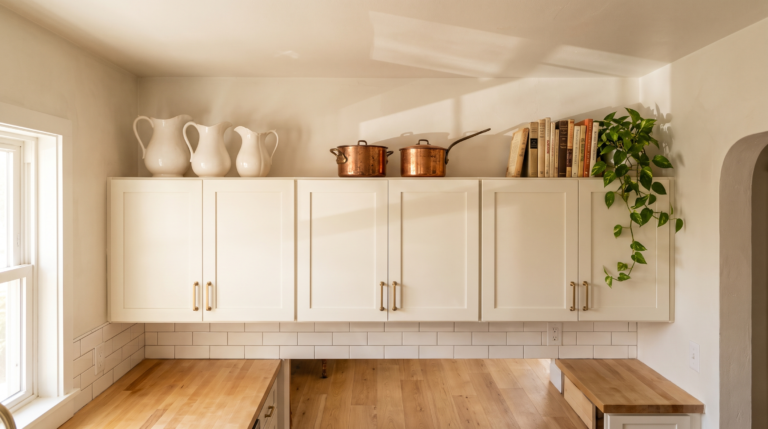
The simplest fix on this list needs no contractor at all. Pots of greenery lined along the top of the cabinets soften the hard line where cabinetry meets ceiling, and the change takes about ten minutes.
Trailing vines are what make it work, since the leaves break up that straight edge and draw the eye upward instead of stopping it flat. Updating the cabinet color first gives the green something to sit against, though plants lift a tired palette on their own too. One practical note matters here. Keep the crawling plants above cabinets that rarely get opened, because vines and swinging doors are a losing combination. Watering becomes a step stool job, which is why faux greenery earns its place up high.
Made for renters and anyone who wants the gap to feel finished without changing a thing.
Frequently Asked Questions
How much does it cost to extend kitchen cabinets to the ceiling?
Most kitchens land in the mid-range for this, depending on cabinet width and whether new doors are needed. Adding filler panels and trim to bridge the gap is the budget-friendly route, while a full stacked upper row costs considerably more because it means new boxes, doors, and installation. Matching the finish on older cabinets is what pushes the price up fastest. Getting two or three quotes is worth the time.
Can renters do anything about the gap above kitchen cabinets?
Yes, plenty. Anything that sits on top without hardware works, including large ceramic vases, lidded baskets, stacked wooden boards, and trailing faux plants. Removable adhesive light strips add a warm glow along the back edge with nothing drilled. Skip molding, paint, and filler panels, since those count as permanent changes in most leases.
How do you match new cabinets to existing ones?
Bring a removed door to the supplier rather than relying on a photo or a color name. Wood stains and painted finishes shift over time with sunlight, so a cabinet installed years ago rarely matches a fresh one from the same range. Painting every cabinet the same color afterward is the reliable fix. Warm white, sage, or soft greige all hide small differences well.
Should you close the gap above kitchen cabinets or decorate it?
Close it when the gap is small, decorate it when the gap is generous. A few inches looks awkward no matter what goes in it, so crown molding or a filler panel reads far cleaner. A taller opening handles oversized pieces well and adds character. Ceiling height decides this more than personal taste does.
What is the cheapest way to make the space above cabinets look finished?
Paint it the same color as the cabinets. Matching the wall above to the cabinet finish makes the gap visually disappear for the price of a sample pot and an afternoon. Adding a single length of crown molding is the next cheapest option and still stays well under a hundred dollars for most kitchens. Both read as finished cabinetry rather than an unresolved space.
Conclusion
The best before and after photos never show more stuff. They show breathing room. A wall that used to press in now sits open, a line that stopped halfway now meets the ceiling, and the kitchen finally looks like someone finished the job. What makes each of these changes interesting is that the same gap gets solved nine different ways, from bright open shelving and bare white walls to warm oak cabinetry running clean to the ceiling.
Pick one change and be honest about the effort it takes. Start by emptying those upper cabinets onto the table, because seeing what actually lives up there settles most of the decision on its own. Save the makeover that matches your kitchen to a Pinterest board, bookmark this post for the next planning weekend, and send it to a friend still staring at that awkward gap. The right fix makes a kitchen feel finished long before anything else changes.